
Cisco® IP phones are generally found everywhere in offices for the last nearly 20 years. As of this writing, there are several models that have reached their end of life and official support from Cisco®. One such model is the CP-7961G-GE which I was able to get on eBay for $15.99 with free shipping, so I
purchased two of them. I also ended up purchasing the CP-7975G for $18 with free shipping. When purchased new these phones cost more than $200 to buy one.
This is going to be a series of posts in my adventures with these phones, with this being the introductory one. Several people have setup these end-of-life phones with Asterisk or FreePBX and I will be doing the same. In addition to that, I will try to get to the internals of the phone and understand the chipset and write applications that run on the phone.
TABLE OF CONTENTS
FACTORY RESET WITH OLD FIRMWARE
When you buy phones from eBay, sometimes they have been reset to factory mode, and sometimes they have not. It is a safe bet to make sure that if you want to put these phones to good use, you should reload the firmware and perform the factory reset. I will describe the steps to do that in this post.
The 7961G model, as I will refer to it here, has a black and white screen whereas the 7975G model has a bigger screen that is in full color. The most popular video on these phones is this research done by Dr. Ang Cui and presented at the 29th Chaos Communications Congress in
2012. During this video Dr. Cui says that the phone runs a Broadcom BCM1100 System-on-Chip which is a MIPS32 chip. I will verify that this chip is a MIPS32 chip in this post.
Collect Original Firmware Sample
The first step is to collect firmware. I had to create a Cisco® account to download firmware for the both the model phones. I was also able to find, using some Google Fu, several websites and git repositories where people had uploaded actual Cisco® firmware for these phones. To use the phone with Asterisk or FreePBX you
need to run the phone in SIP mode which requires you to download the SIP firmware versions. Do not download the SCCP firmware versions for this research!
The latest firmware for the 7961G model available was version 9.2.1 and for the 7975G I was able to get every version from 8.4.1 to 9.4.2. Using my searches on other internet sites, I was able to find older versions of the firmware for 7961G as well. To avoid all the security fixes done after
CVE-2012-5445 was released by Dr. Cui, I chose to use the firmware version 8.4.2. However, in a later post I will also try using the 9.2.1 for the 7961G and 9.4.2 for the 7975G. For purposes of this research, I am making sure that both models of the phones are
using the same firmware version.
A copy of the SIP firmware for 7961G version 8.4.2 can be downloaded here. The details are below. The release date is based on the contents of the file. It is a tar file.
Details
Description :   7961 SIP IP Phone firmware files only
Release :   8.4(2)
Release Date :  16-Jan-2009
FileName :  7941-7961-sip.8-4-2S.tar
Size :  7.12 MB ( 7475200 bytes)
MD5 Checksum : 5ed9728e012c3bd43c352034613a6ed1
SHA1 Checksum: 81b01857357eb6e7b11bda75d5d8f9a7fe6ae790
SHA512 Checksum : b4b2740df16dbcc4801dc27be4864509a5f8540b02b2aedd94d095ea2f1b1768fb58e4bc40f088c727b0cc2ba52d13e1a2d495b27862814e036b8a335337b4e0
A copy of the SIP firmware for 7975G version 8.4.2 can be downloaded here. The details of the file are below as per the Cisco® website. This is a zip file.
Details
Description :   7975 SIP IP Phone firmware files only
Release :   8.4(2)
Release Date :  19-Sep-2013
FileName :  cmterm-7975-sip.8-4-2.zip
Size :  4.85 MB ( 5081897 bytes)
MD5 Checksum : befc4743e80c98348362007650ec42b5
SHA1 Checksum: b733379fe98f23957df86f89954f40ebcbdb4158
SHA512 Checksum : 8b59a8cf2ea40292f14add26a0e57bda8ded31b50f39ee506ac58c3b1b413cf7c70868f4f473f82ed398fbb1f0de1348d4aa4b0c6c4737550ac49b3b355cfac6
Setup TFTP Server & Routing
The VOIP phones need to be connected to a network so that they can load firmware using a TFTP server.
The safest way to do this and prevent the phones from connecting to the internet is to have a spare router, such as an old one, that can either run a TFTP server and a DHCP server, or is flexible enough to let you set DHCP options for providing the default TFTP server IP address.
For my case, I used an old Linksys WRT54G v6 which had DD-WRT installed at some point during 2013. If you have such old routers lying around, I urge you to upgrade their firmware to either DD-WRT or OpenWRT so that you can perform this task easily. If not, and you are using Windows you may want to look up TFTP-server or install a GNU/Linux distro like Ubuntu or Debian or Kali Linux on a virtual machine (like VirtualBox and perform this task.
I connected all three of my phones to the router using an ethernet cable and kept the router WAN port disconnected from the internet to prevent the phones from connecting to the internet, especially if they had not been factory reset. The router had very less flash memory, so it did not support running a TFTP server. However,
it did run dnsmasq which allows you to setup DHCP options with the correct TFTP server IP address.
I setup the router to have the IP address 192.168.9.1 and so the phones would be in the 192.168.9.0/24 network. The router was also configured to run the DHCP server and automatically assign DHCP addresses to any device connected to it. Then I connected my laptop which is running Kali Linux to this
router. I used WiFi since the router supported it, but you can also use ethernet to do this. The laptop was given a static address of 192.168.9.99 so that we could use this known address in the dnsmasq option for the TFTP server IP.
The dnsmasq option finally looked like this, which could be added via GUI in the DD-WRT firmware. Other firmwares may allow you to add the option via GUI or by logging into the router and editing the dnsmasq configuration file but the configuration will look like below:
dhcp-option=66,"192.168.9.99"
Here the IP address is that of the TFTP server and that’s the IP address I have chosen for my laptop which is running the server. You may choose an appropriate IP address for your network and system. The IP address must be in quotes and the DHCP option number is 66. If your router firmware allows setting up the TFTP
server on the router itself, the IP address will be that of the router i.e. 192.168.9.1.
Once this has been done, save the settings on the router and restart it.
Setup the TFTP server with the appropriate firmware version in the home directory of the TFTP server. I will demonstrate this for 7961G but the steps are the same for the 7975G phone too. On Kali Linux, I install the tftpd-hpa package to run the TFTP server which comes with all the default settings ready for
serving files on TFTP. The path on disk where the files are served from is /srv/tftp but you can change it by editing the TFTP_DIRECTORY variable in the /etc/default/tftpd-hpa file. I used the defaults.
### install the package. let's just use defaults
$ sudo apt-get -y install tftpd-hpa

### restart it if you change the defaults
$ sudo systemctl restart tftpd-hpa

### check if the server is running on port 69
$ sudo netstat -vnapul | grep :69
udp        0      0 0.0.0.0:69      0.0.0.0:*       2423810/in.tftpd

### cd to the directory
$ cd /srv/tftp/

### untar the file for 7961G from the correct path into the /srv/tftp/ directory
$ sudo tar -xvf /path/to/7941-7961-sip.8-4-2S.tar

### or unzip if you are doing 7975G
$ sudo unzip /path/to/cmterm-7975-sip.8-4-2.zip

### run ls to see the files generated. These are for 7961G
$ ls -l
-rw-r--r-- 1 93927 floppy 2915997 Jan 16  2009 apps41.8-4-1-23.sbn
-rw-r--r-- 1 93927 floppy  459836 Jan 16  2009 cnu41.8-4-1-23.sbn
-rw-r--r-- 1 93927 floppy 3048438 Jan 16  2009 cvm41sip.8-4-1-23.sbn
-rw-r--r-- 1 93927 floppy  539441 Jan 16  2009 dsp41.8-4-1-23.sbn
-rw-r--r-- 1 93927 floppy  502269 Jan 16  2009 jar41sip.8-4-1-23.sbn
-rw-r--r-- 1 93927 floppy     638 Jan 16  2009 SIP41.8-4-2S.loads
-rw-r--r-- 1 93927 floppy     642 Jan 16  2009 term41.default.loads
-rw-r--r-- 1 93927 floppy     642 Jan 16  2009 term61.default.loads

### restart the server just to be sure
$ sudo systemctl restart tftpd-hpa
Now your TFTP server is ready to serve files over the local network.
Performing Factory Reset
I am linking to the manuals for the 7975G
and 7961G here. These manuals may be for a more recent firmware version, but the factory reset process is the same. On page 242 of the 7961G manual, in the chapter Troubleshooting and
Maintenance there is a section called Perform Factory Reset. You should read that section first.
So I have setup the TFTP server above, and now I am ready to perform the factory reset.
- Step 1: Unplug the phone power cable. If you are using PoE to power the phone, unplug the ethernet cable.
- Step 2: Press and hold the
#button (Figure 1) and plug the power cable or ethernet cable back in. Hold the button for about 60 seconds or more until the line buttons start flashing orange or amber as seen in Figure 2. - Step 3: Release the
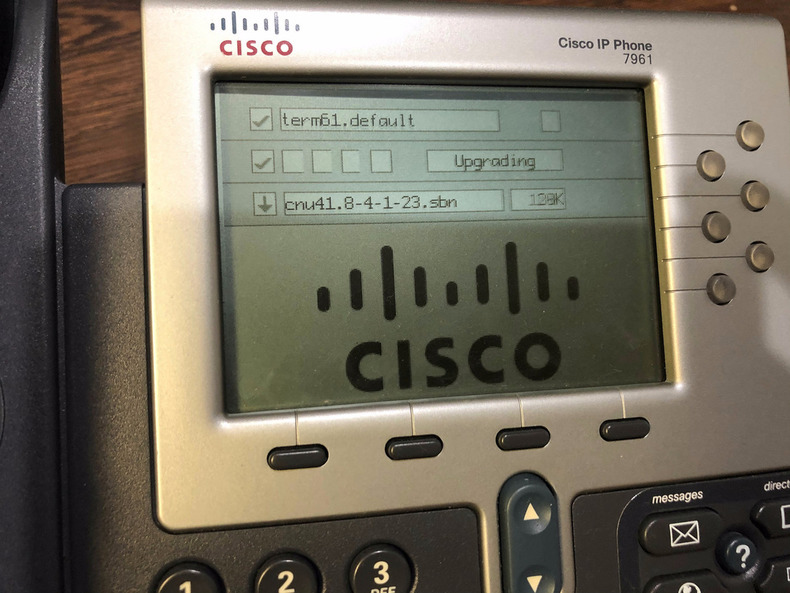
#button and now dial123456789*0#on the keypad (i.e. all the keys as they are laid out). The line buttons will flash red for a second and the phone will connect to the TFTP server and start the update (Figures 3a and 3b). Several files will get pulled in and you can see the files being loaded as in Figures 4a, 4b, 4c and 5. - Step 4: Once the phone update completes, the phone will reboot and show
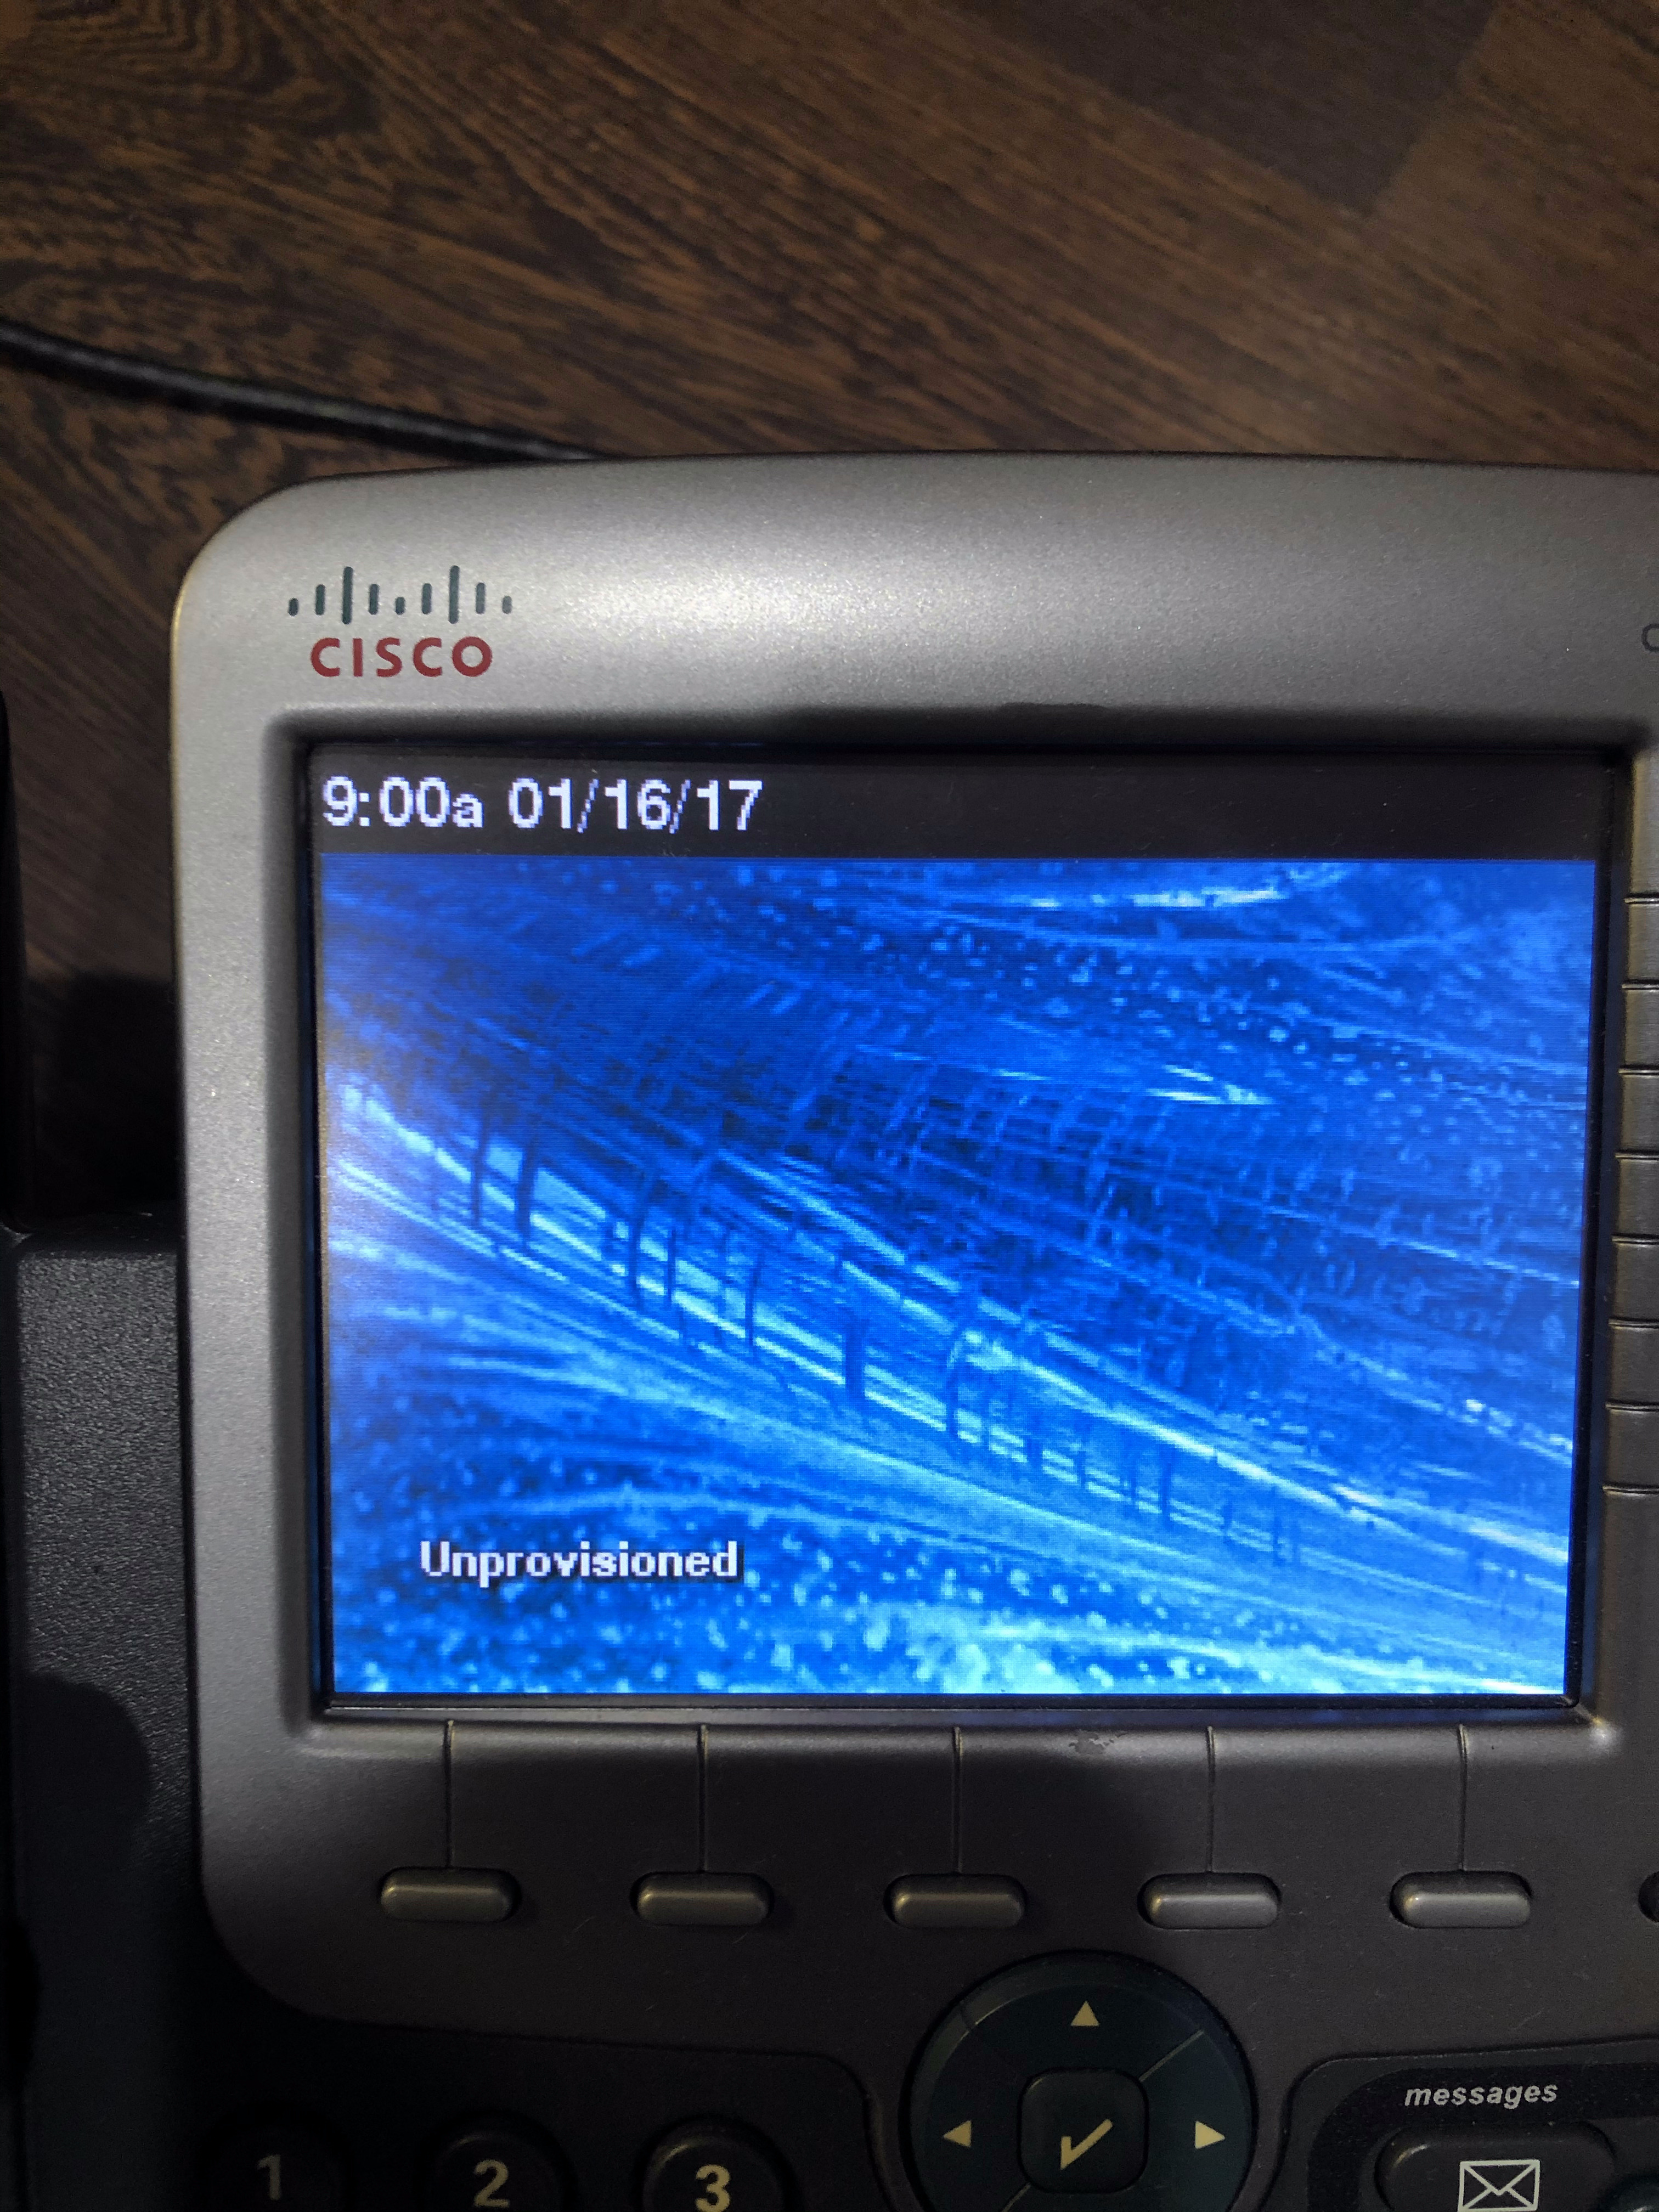
Unprovisionedafter a full reboot. This means that it needs a provisioning configuration file to connect to a SIP server. We will discuss that in the next post.
CAUTION: The process is the same for both the 7961G and 7975G except remember to update one model of the phone at a time. The wrong firmware placed in the TFTP server may brick your phone permanently.
Once I completed the firmware update for the 7961G model, I emptied out the /srv/tftp directory, placed the 7975G firmware in there using the similar steps as described above and updated its firmware.
You can see the process that ran on my phones in the images below. The black and white phone screen is for the 7961G and the color screen is the 7975G phone.
Figure 1: Press and hold the # button even before turning on the phone power supply.
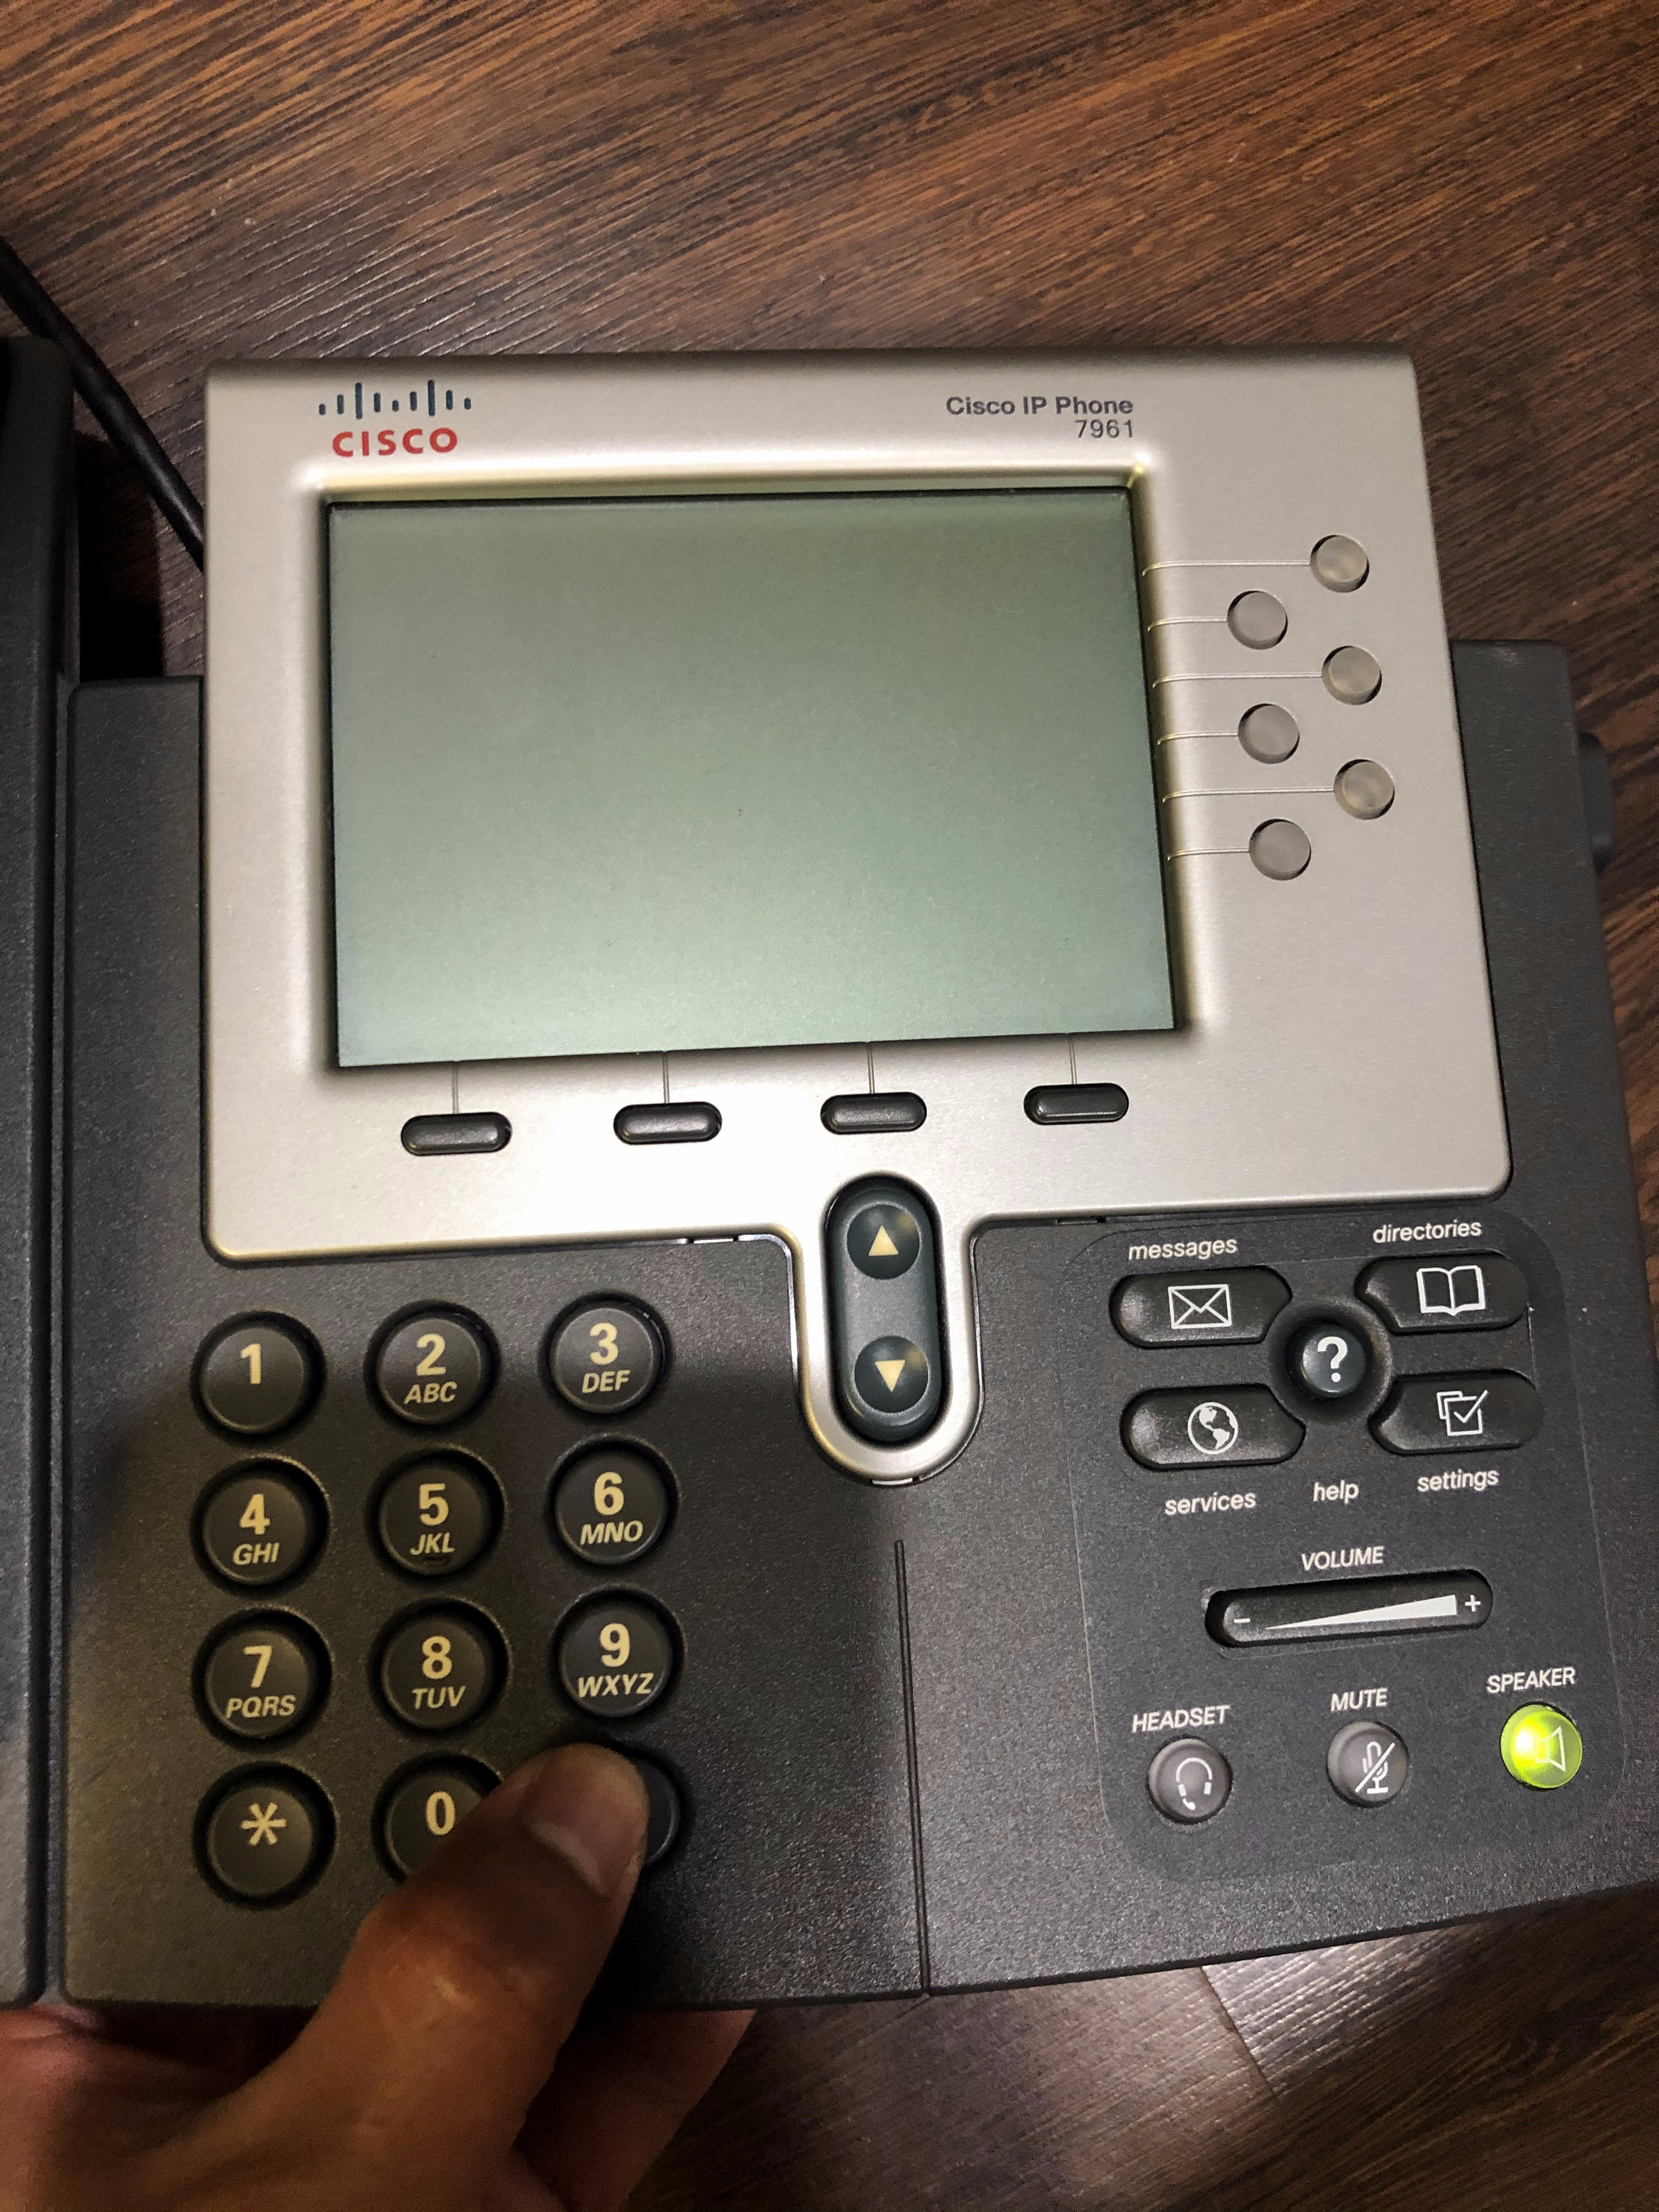
Figure 2: The line buttons start flashing amber.
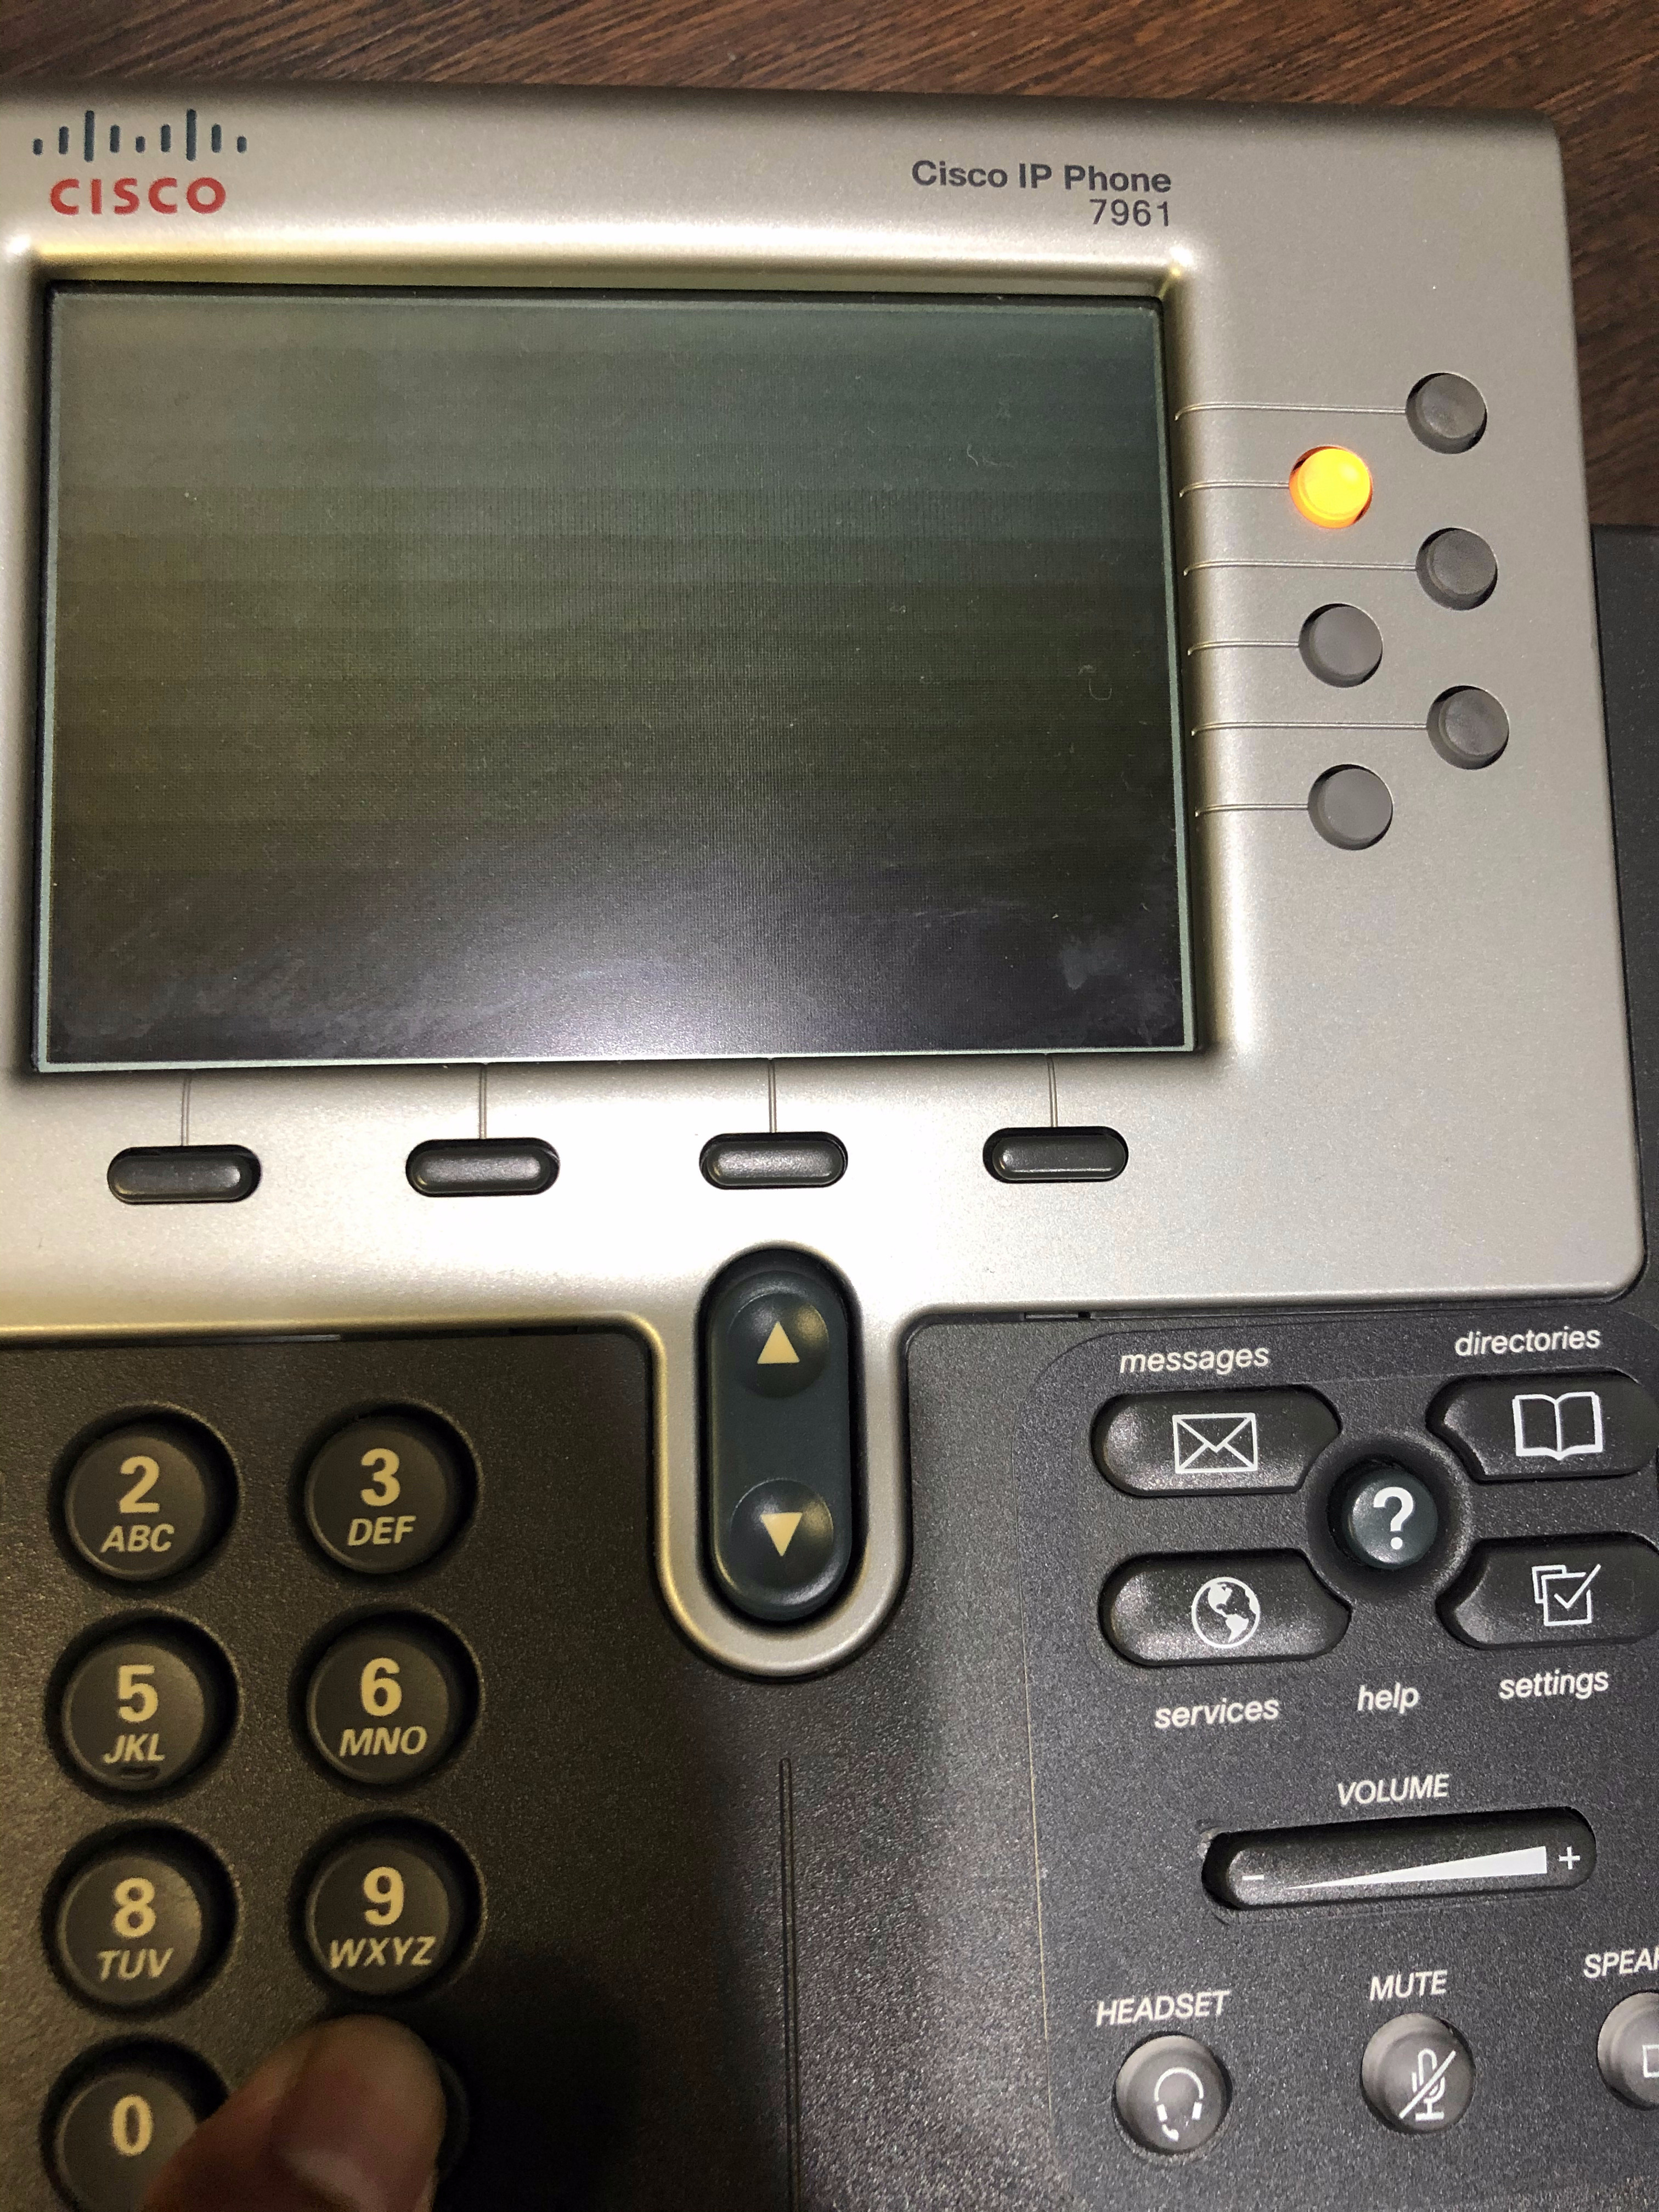
Figure 3a: 7961G Phone begins firmware update after dialing 123456789*0# and connecting to TFTP server.
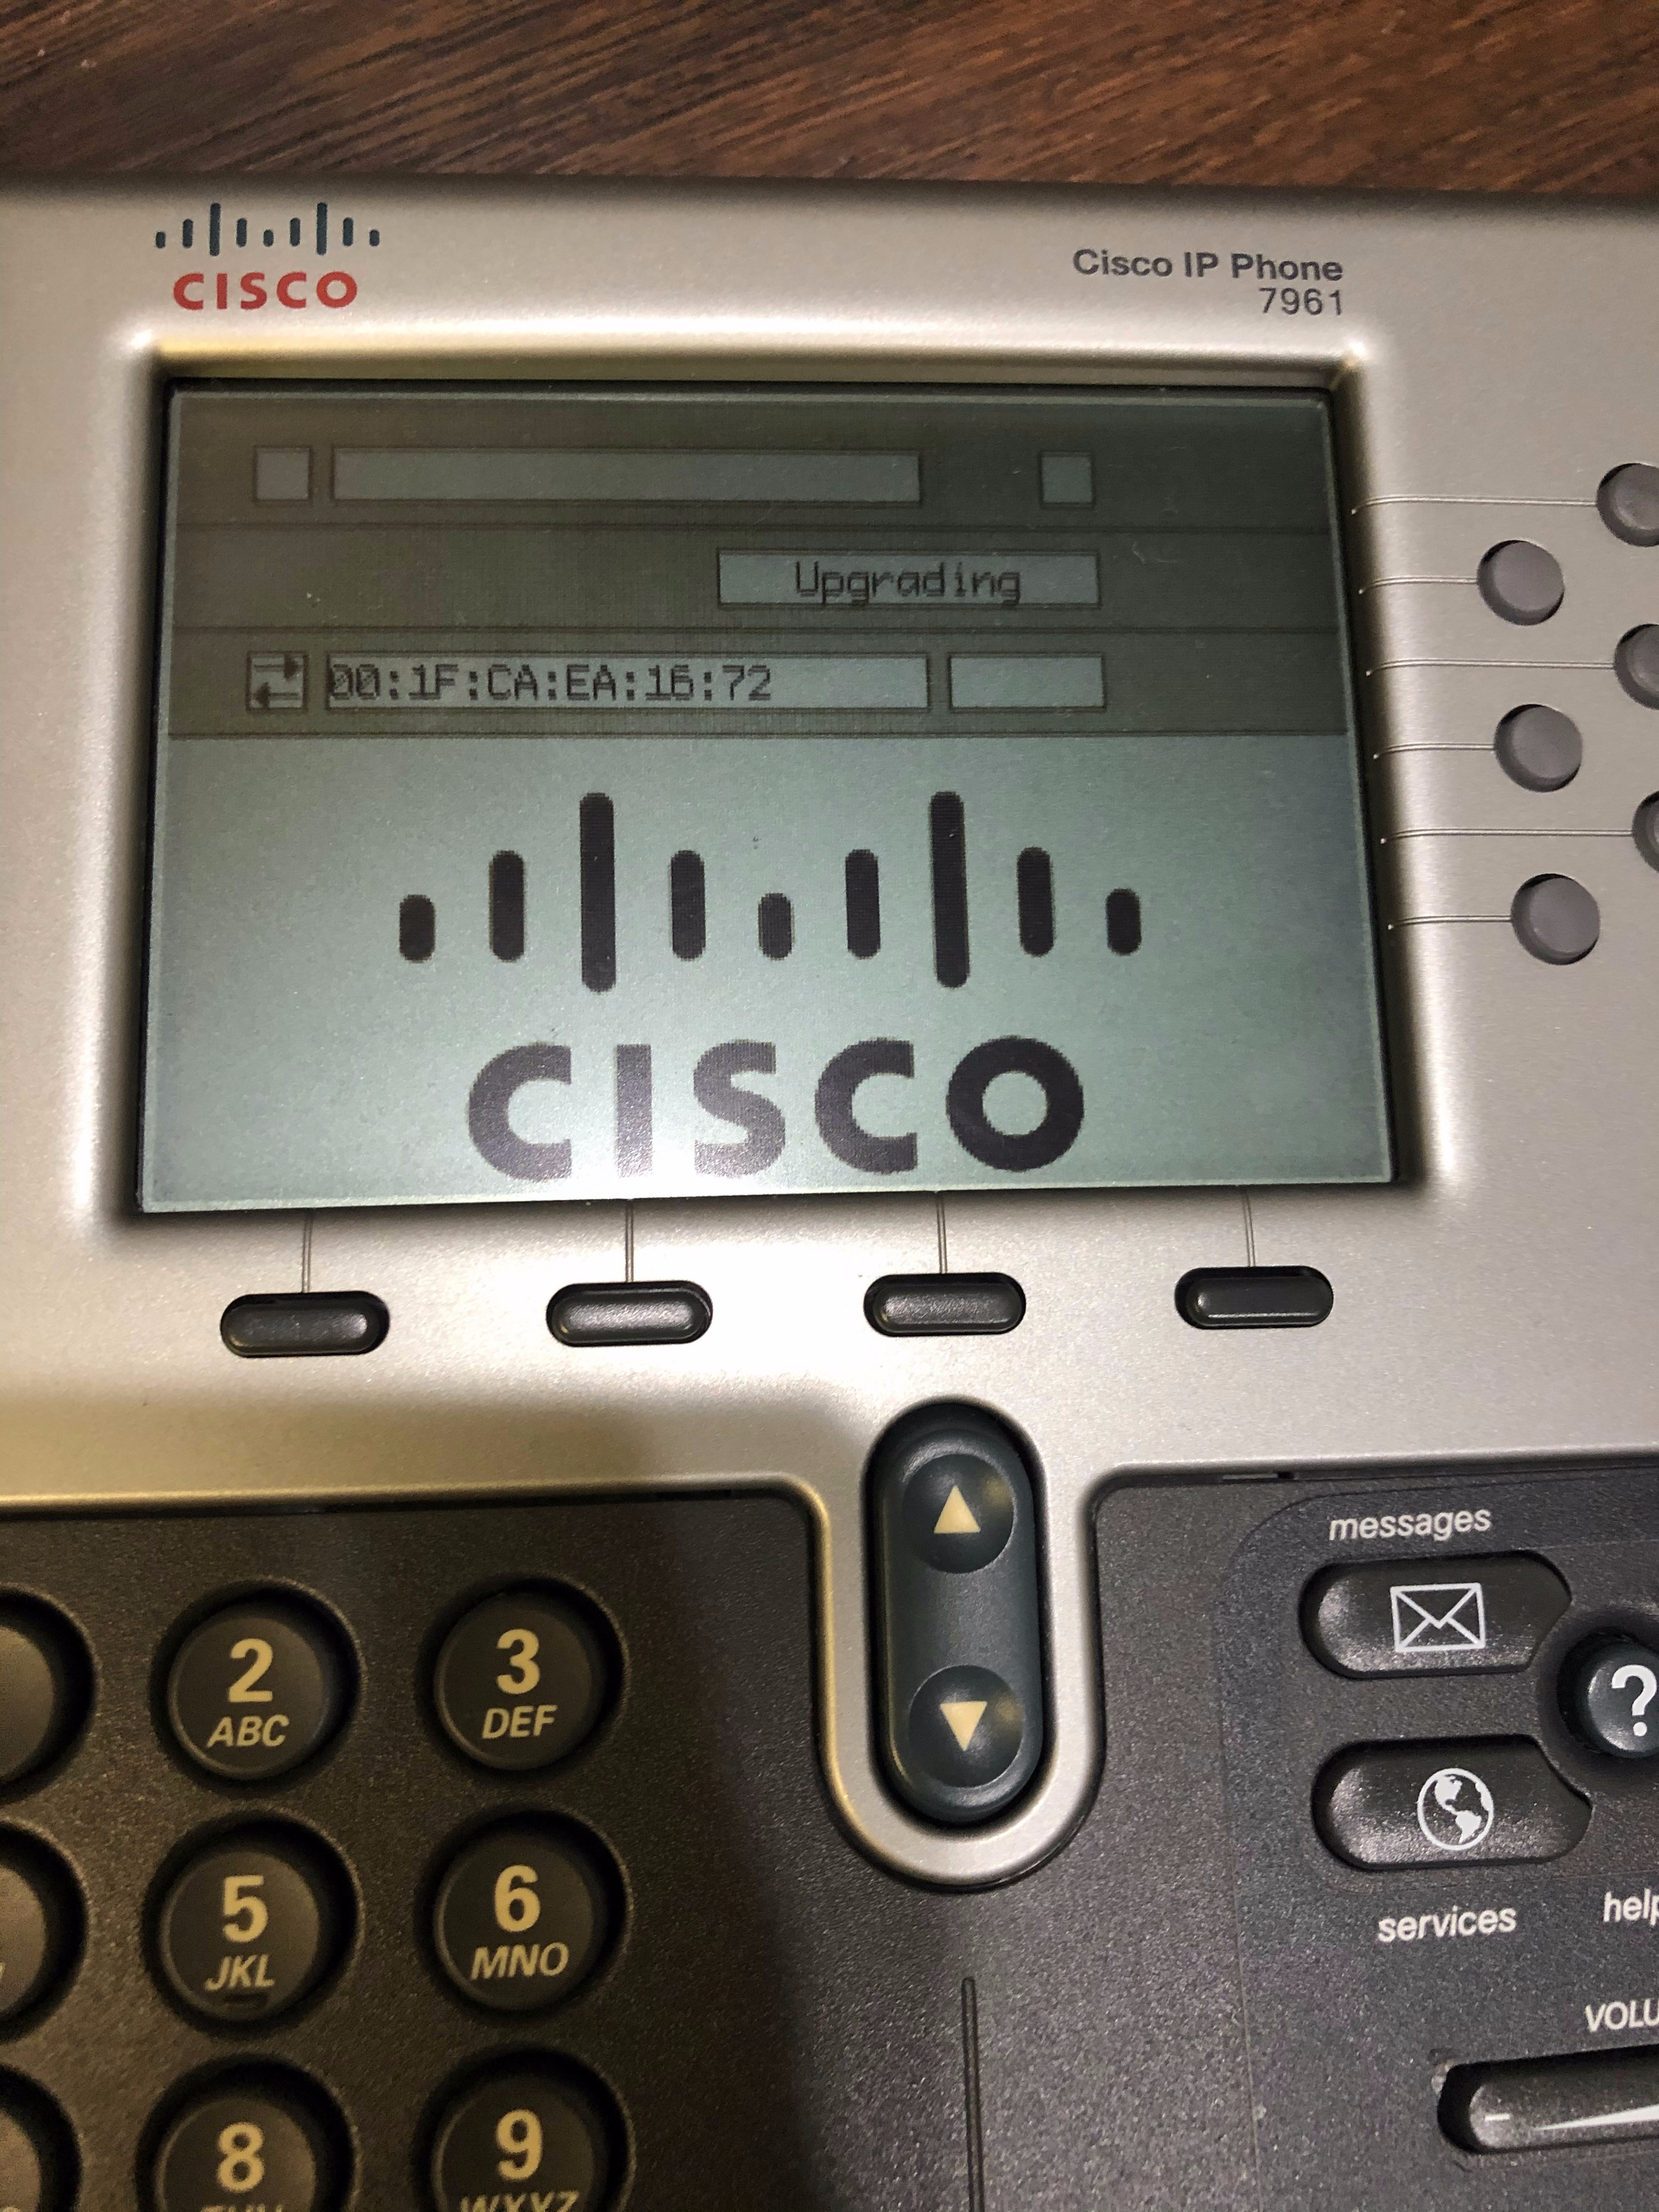
Figure 3b: 7975G Phone begins firmware update after dialing 123456789*0# and connecting to TFTP server.
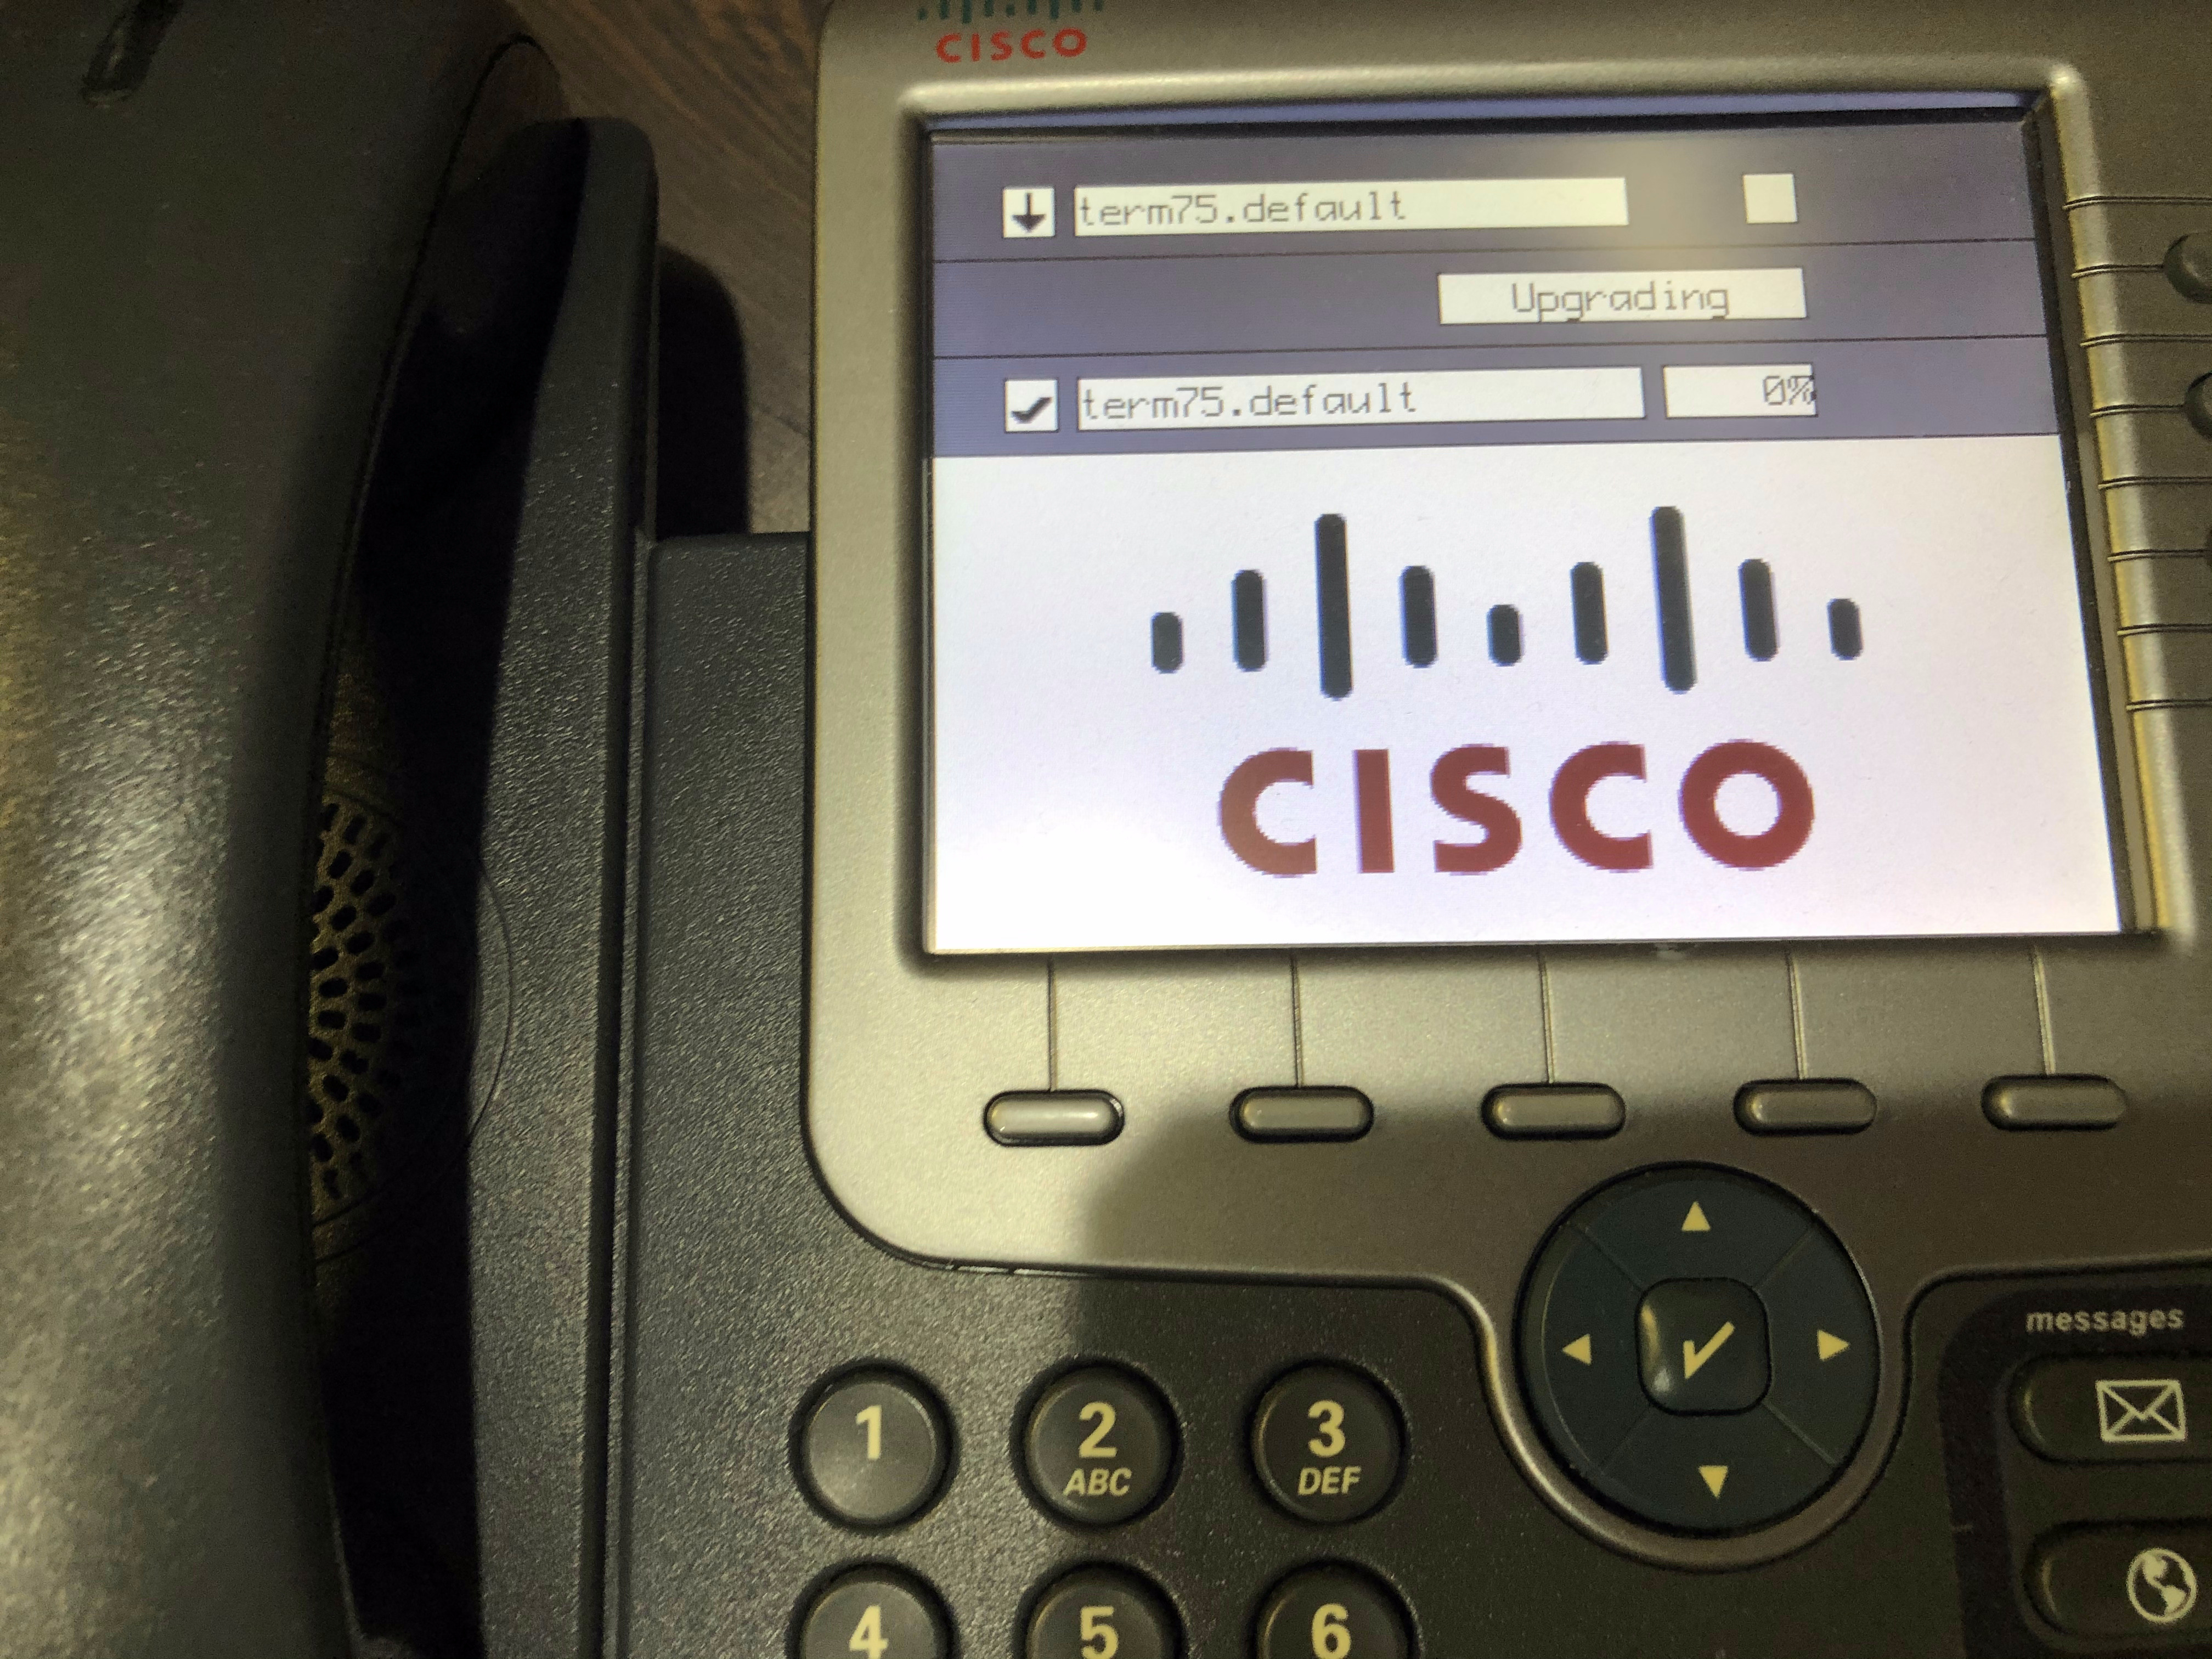
Figure 4a: 7961G Phone starts pulling in files such as the cnu kernel file.

Figure 4b: 7961G Phone starts pulling in files such as the cvm Java environment file.
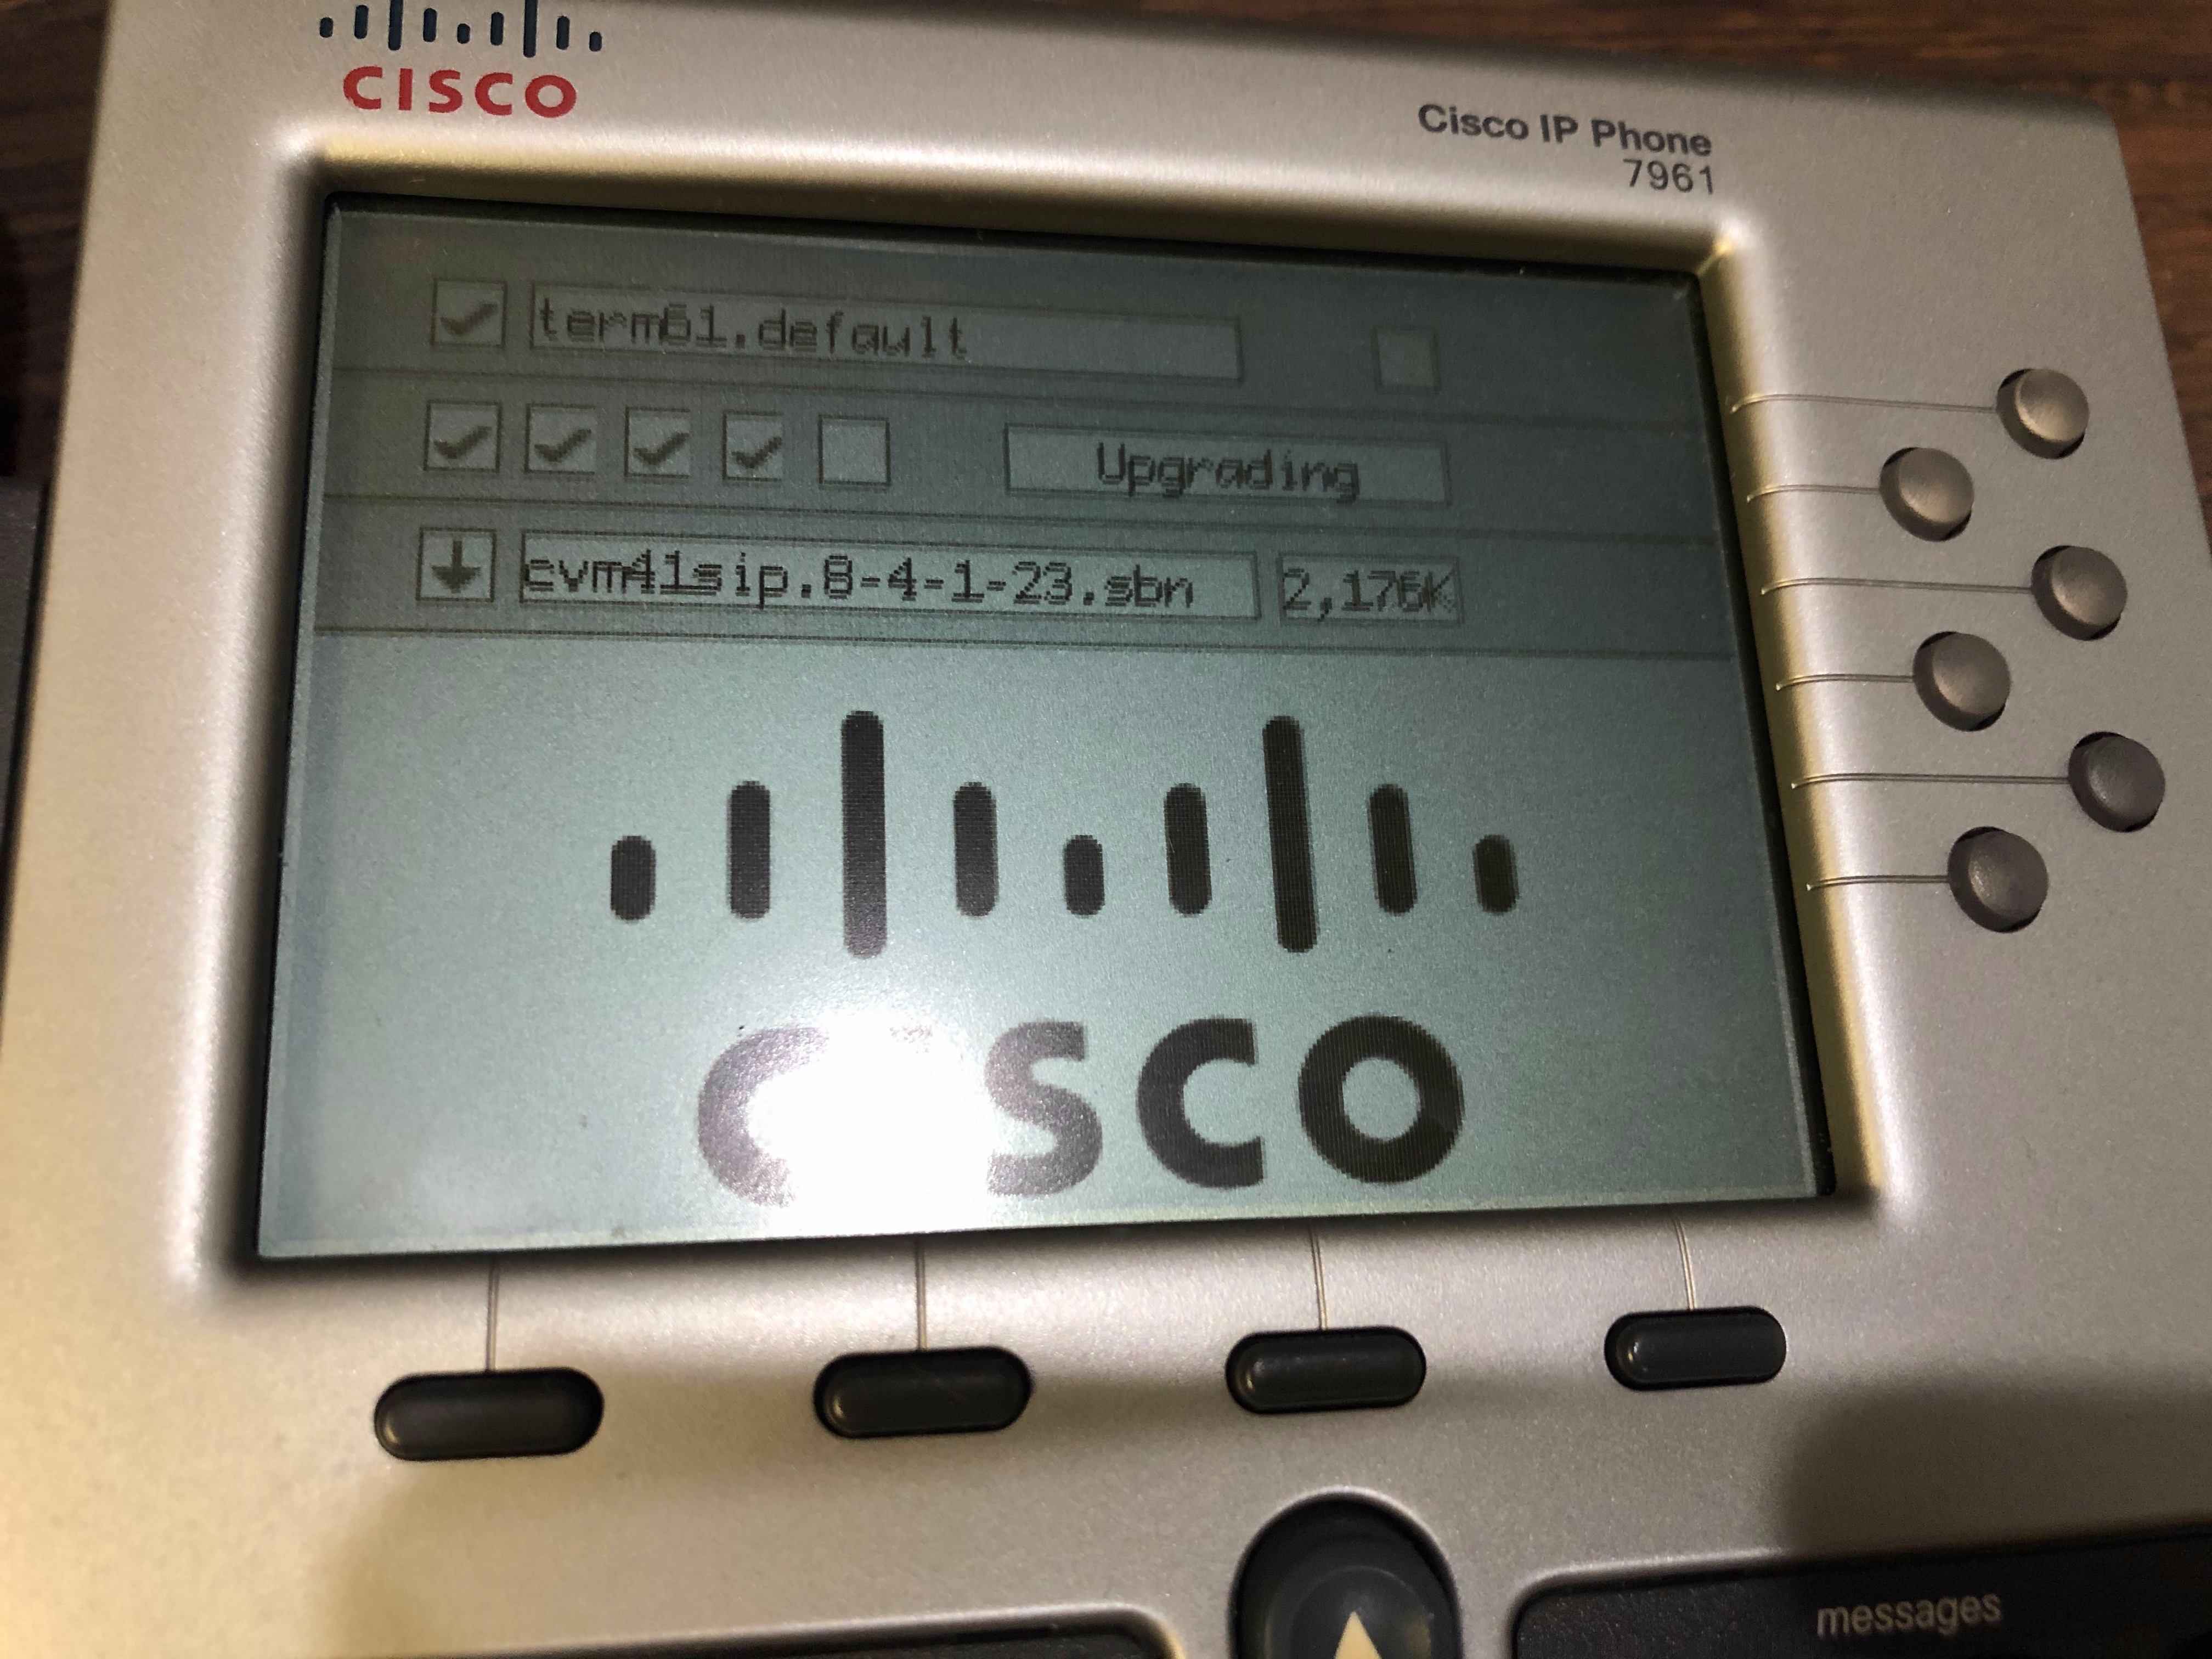
Figure 4c: 7961G Phone starts pulling in files such as the jarsip SIP software file.
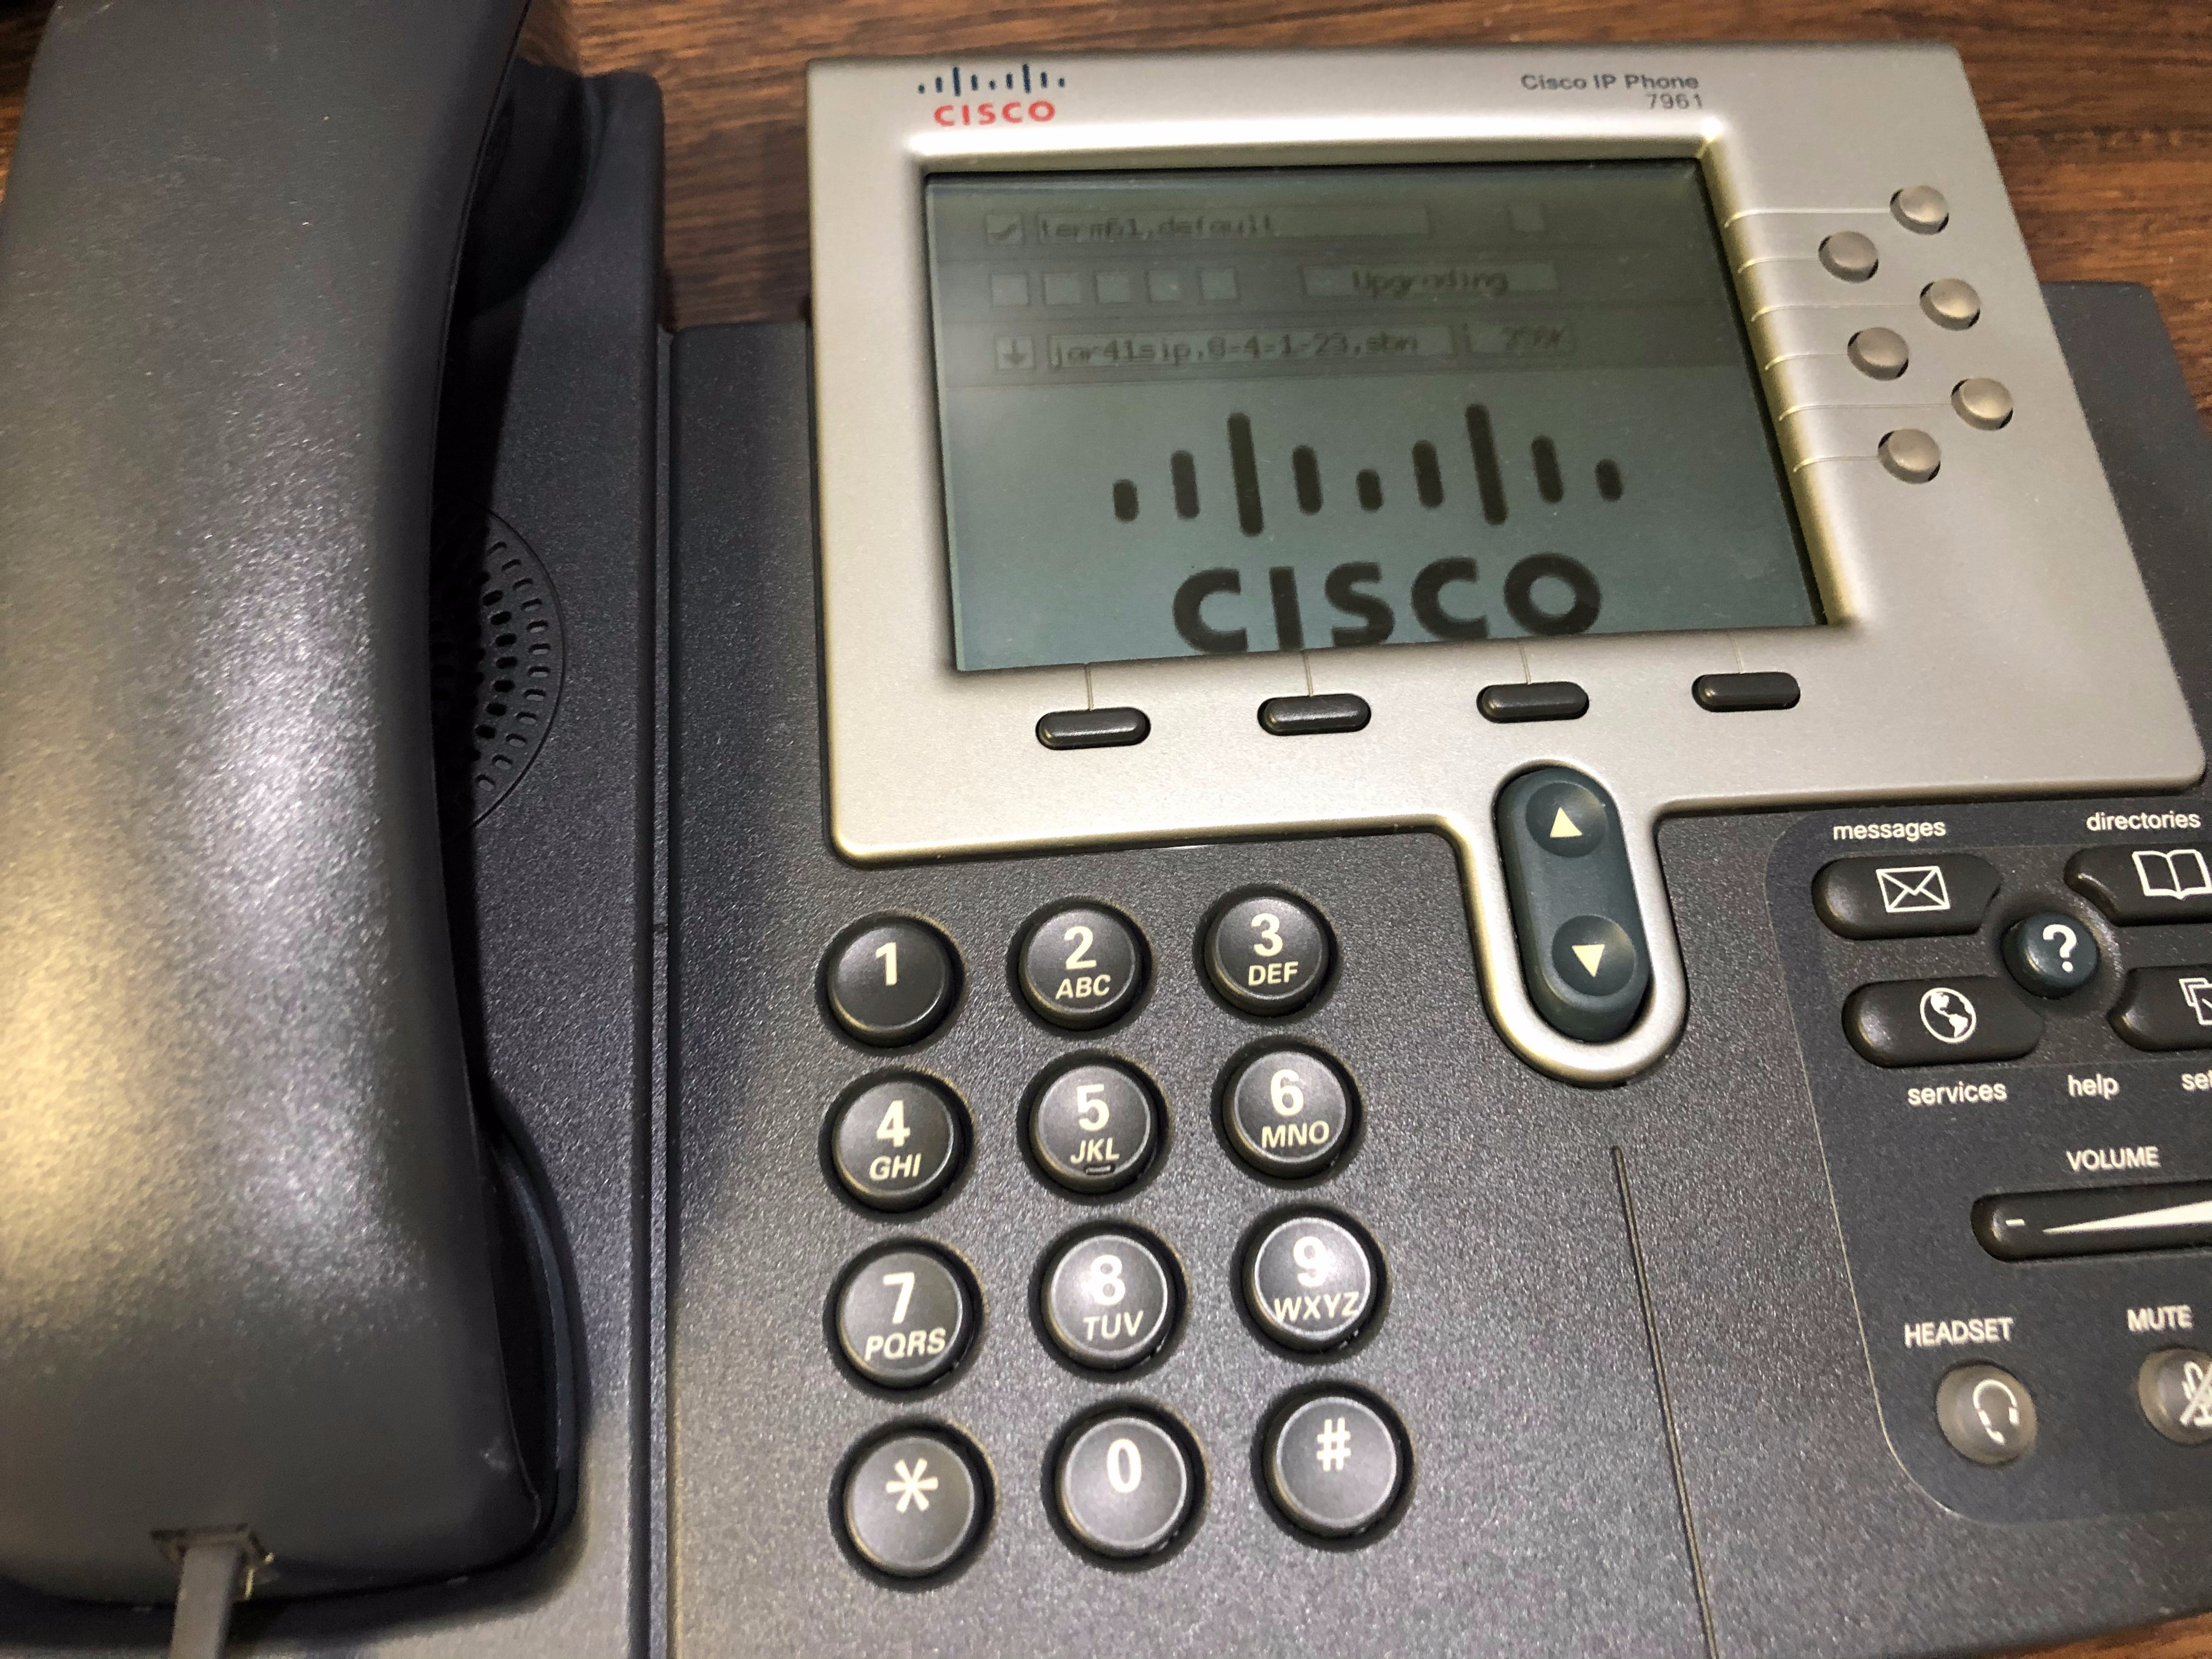
Figure 5: 7975G Phone starts pulling in the firmware files from the TFTP server.
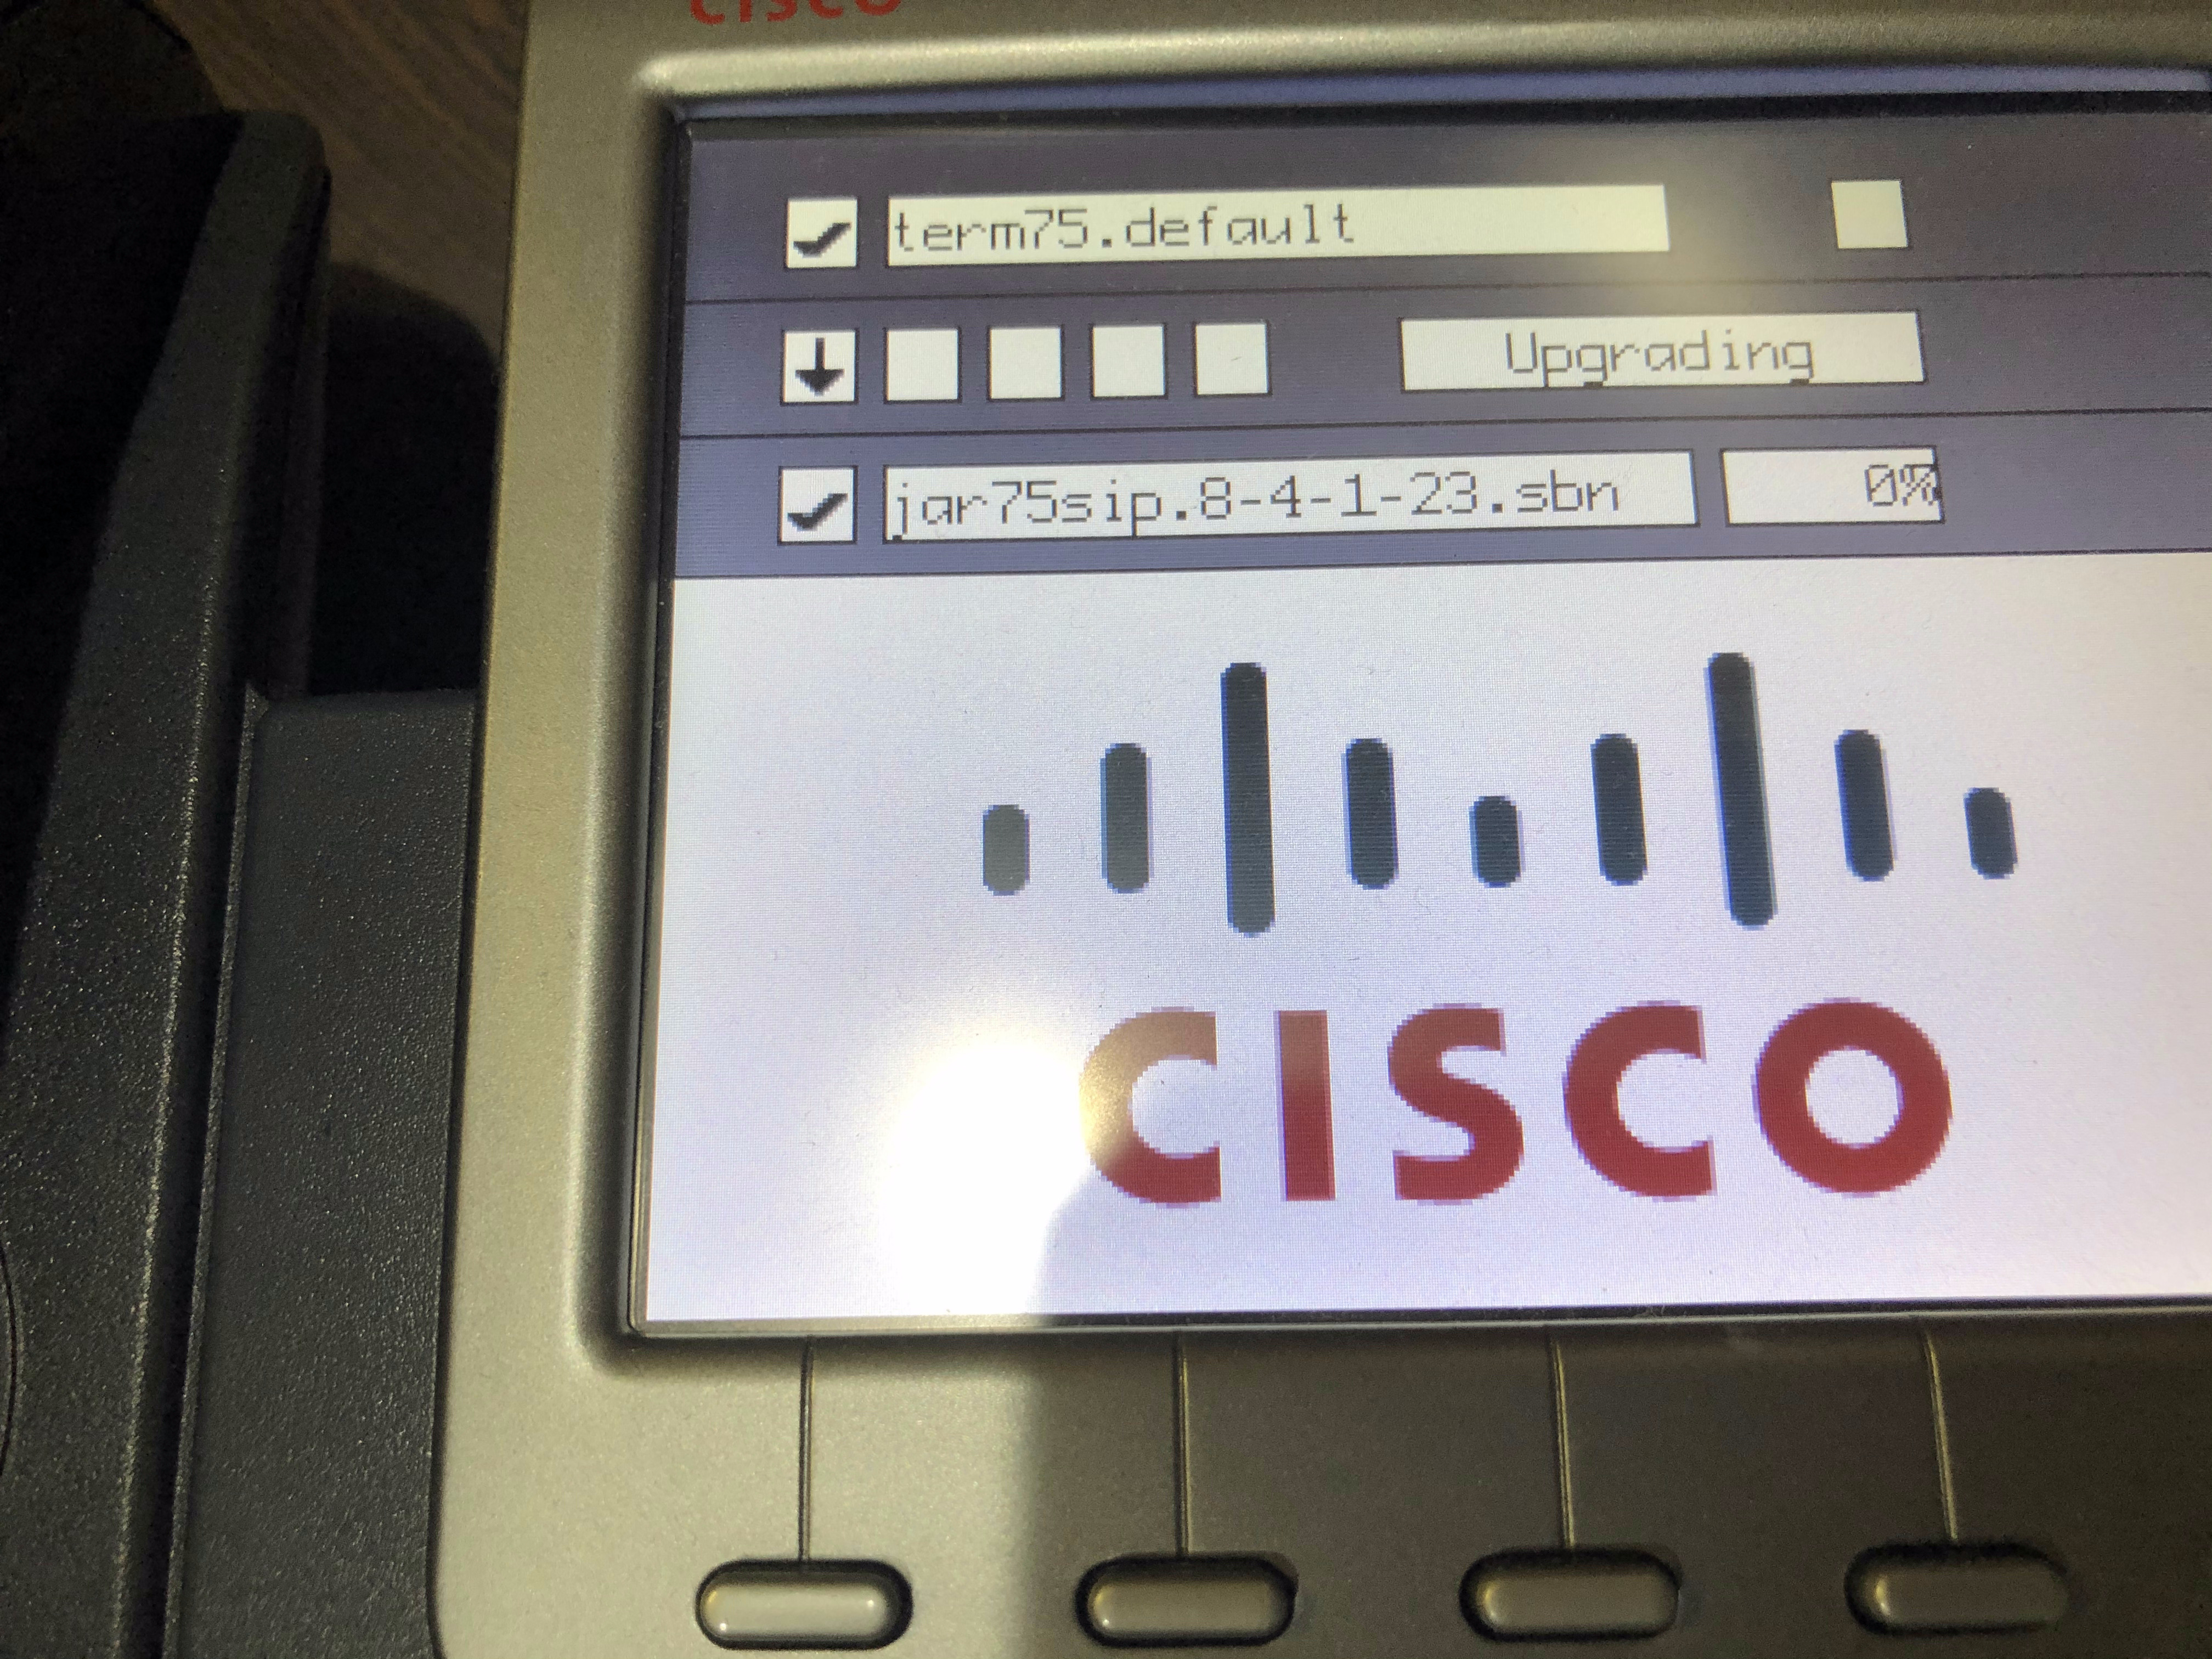
Figure 6: 7961G Phone reboots after the upgrade has completed.

Figure 7a: 7961G Phone shows Unprovisioned in the screen.
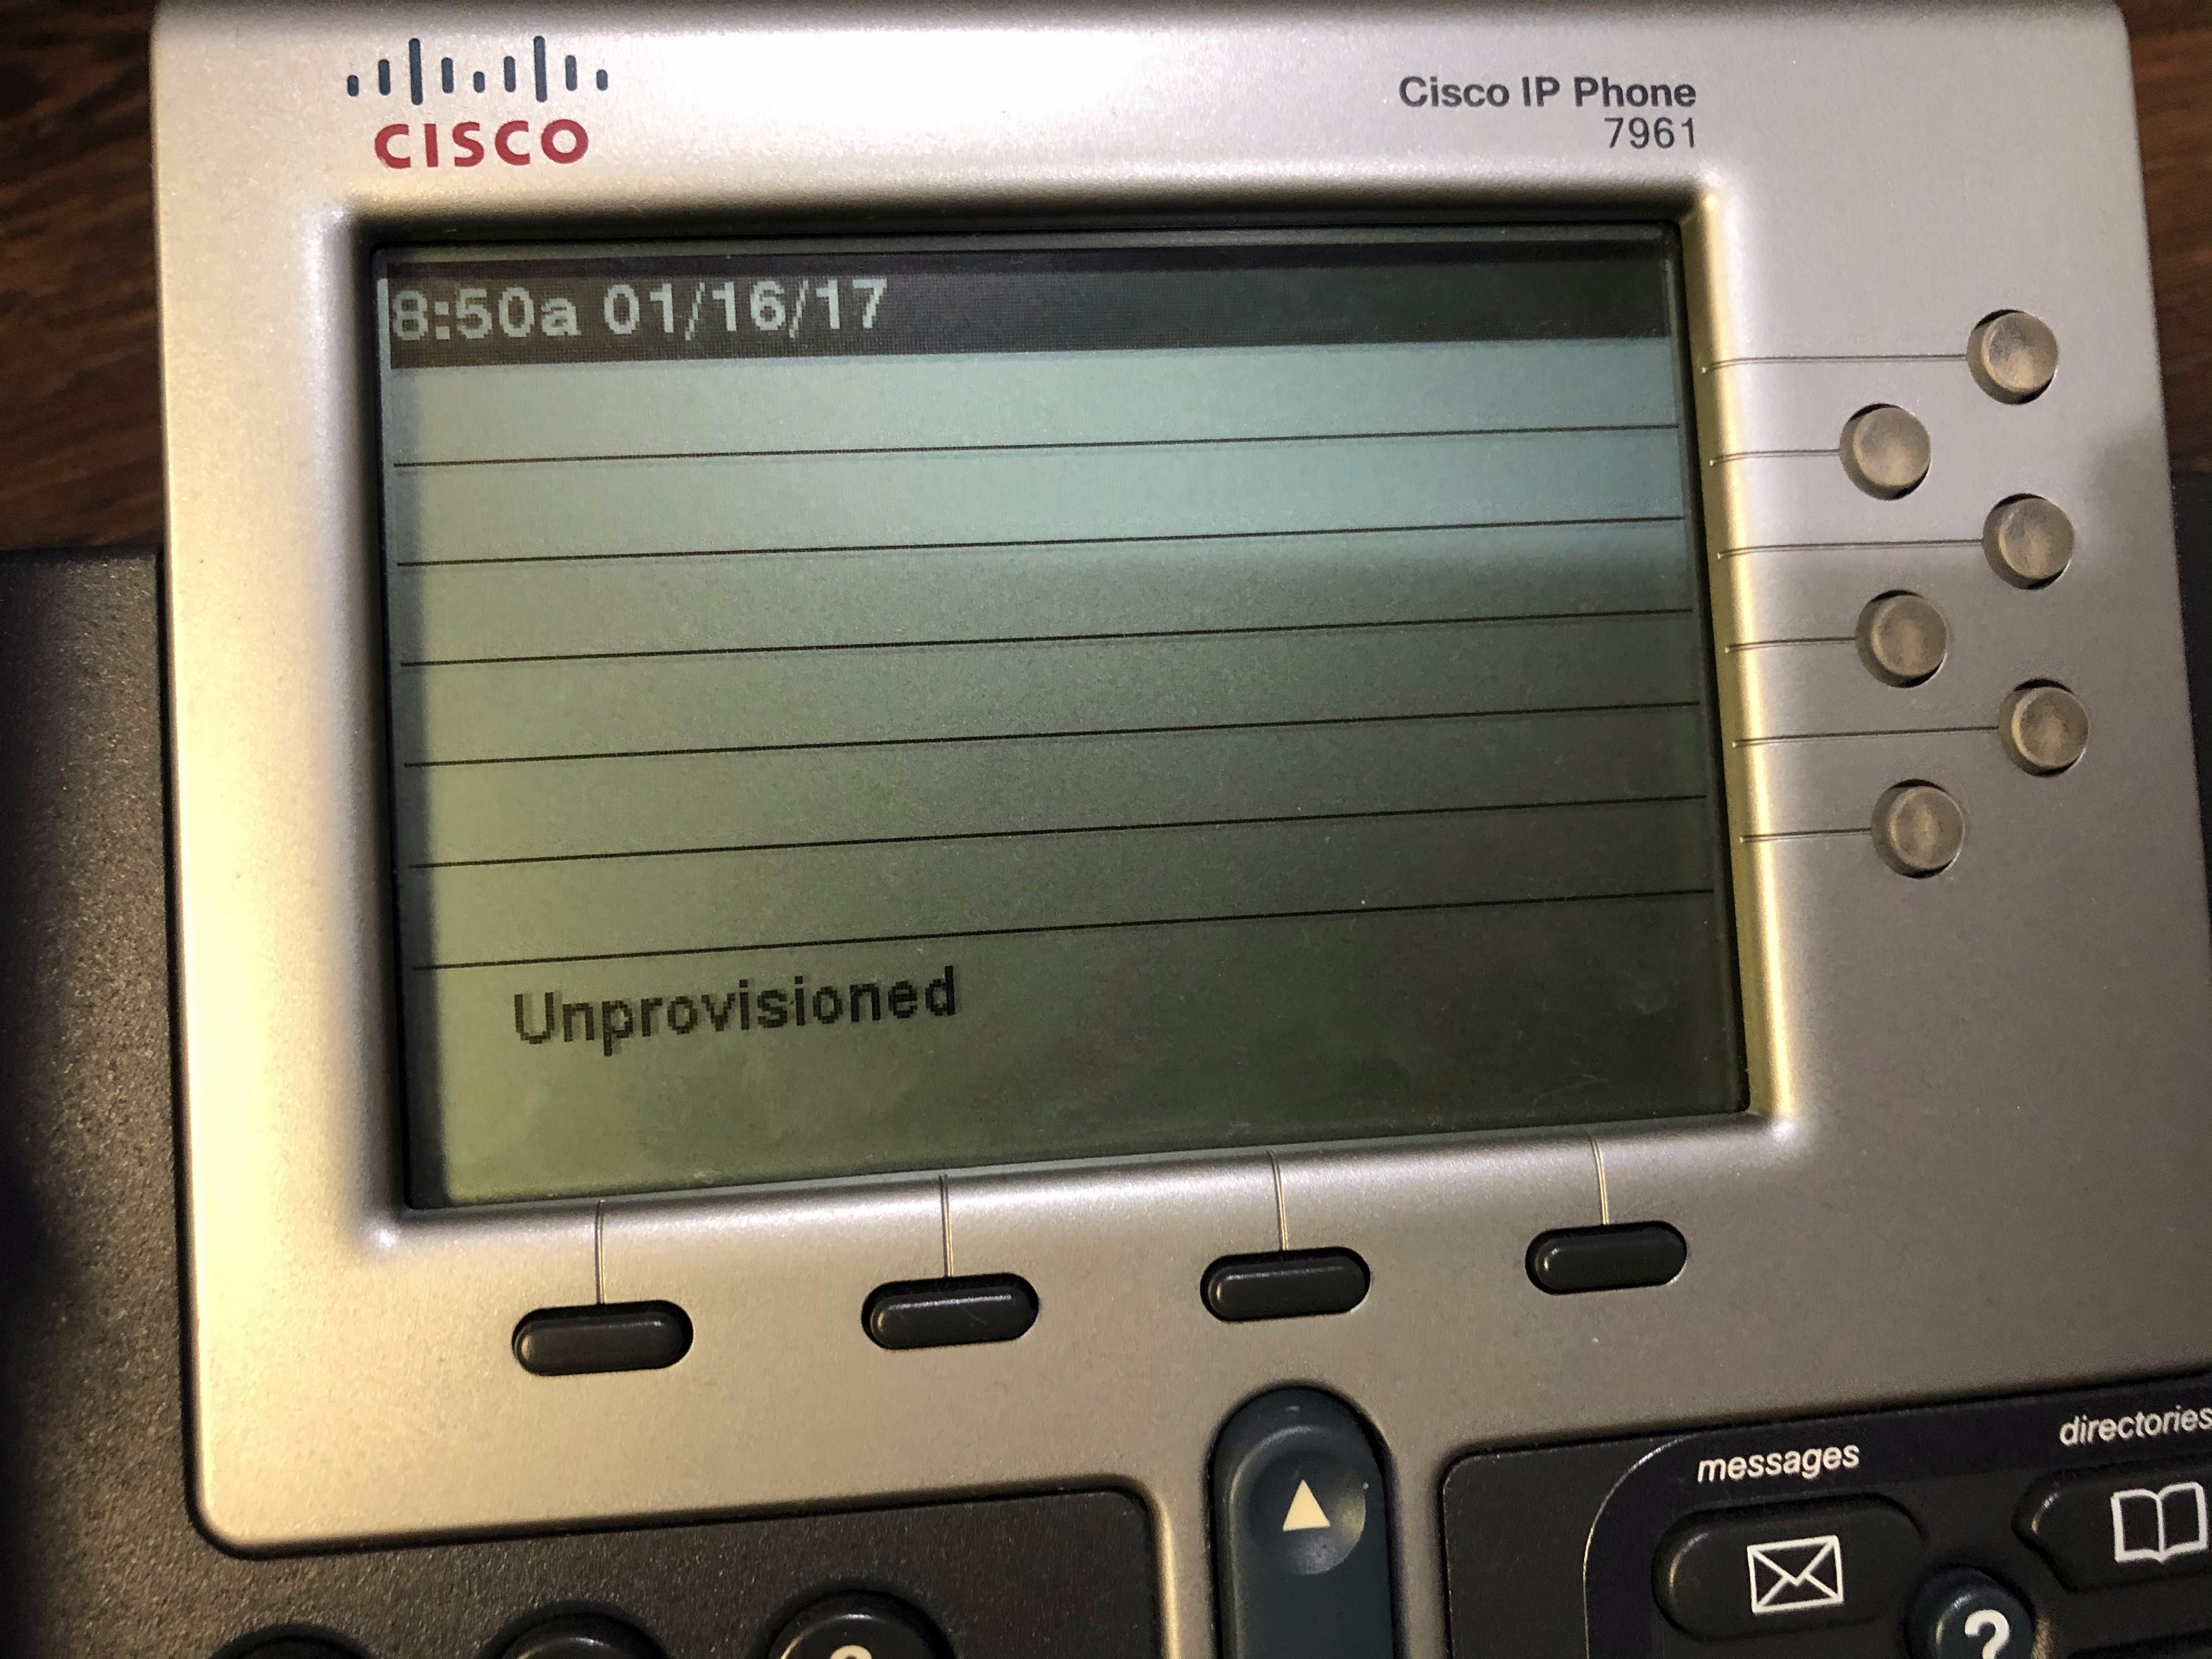
Figure 7b: 7975G Phone shows Unprovisioned in the screen.
Now we are ready to perform the next steps, which is connect to a VOIP server software like Asterisk or FreePBX and get these devices provisioned. That will be described in the next post.
 Donate BITCOIN to 19hrWWw1dPvBE1wVPfCnH8LqnUwsT3NsHW.